Experienced anglers know that fishing success depends on many factors, both objective and subjective. The subjective reasons for the lack of biting can be attributed to the wrong choice of the fishing site due to inattention to the relief and structure of the bottom surface. If you neglect the definition of the depth of an unfamiliar reservoir, a good catch will be more a consequence of chance than a tribute to the skill of the angler. And an accident, especially a pleasant one, cannot be repeated endlessly!
The topic of our today’s conversation will be the most popular methods of measuring depths. Some of them are easy to implement with minimal costs, but not very accurate. Others allow you to make measurements with almost no error, but require a lot of effort or financial costs from the angler. Which one to choose – decide for yourself. Surely in the course of developing practice, you will find the best option for yourself, for a specific reservoir and equipment.
Here is an overview of the content of this tutorial, feel free to jump to any section you care about:
For more fishing instructions, take a look at these popular Trizily links: Best Fish Finders, Best Fishing Sunglasses.
- Carp Fishing For Beginners
- How To Hook Maggots The Right Way
- How To Keep Your Fishing Bait Alive And Healthy
Why do you need to take measurements?
Everyone knows the saying: a fish looks for where it is deeper, and a person – where it is better. In our case, it is better for a person where there is fish. That is, measuring the depths of the reservoir is directly related to the effectiveness of fishing. Of course, there is absolutely no need to fully explore a reservoir or a full-flowing river, but it is definitely worth identifying promising places for fishing .
Even an inexperienced fisherman knows that large fish prefers to dwell at considerable depths, going to the edges and dumps to search for food. Thus, we need to find the deepest and shallowest place in the fishing area – between them there will be a drop-off (an area with a depth difference), where a lot of edibles accumulate, attracting representatives of freshwater ichthyofauna. In the summer, due to the intense heat of the day, the fish accumulate in the pits , where it is cooler, going out into shallow water only occasionally, which means that the targeted fishing needs to be concentrated there.
The primary task of the angler is to deliver the bait as close as possible to potential prey, which means to the bottom. Determining the depths in the fishing zone is necessary in order to either lay out the bait on the bottom in the most promising place, or hang it directly above it (especially important for a viscous silty surface and areas of algae).
On the upper and middle horizons, predominantly juveniles live and a predator hunting them comes out there, but trophy specimens of peaceful fish (and many large predators that hunt by ambush) prefer to forage at the very bottom.
Manual methods of sounding depths
Manual methods of measuring depths do not involve the use of sophisticated modern electronics. Measurements are made using fairly familiar elements of equipment, sharpened for these purposes, or even with improvised means. Each of them requires a certain skill: the more honed the skill of the angler, the more accurate the results.
At first, it is better to opt for less precise but simpler methods such as using marker rigs or tapping. By the way, with the growth of skill, expressed in an increase in the accuracy of casting and a detailed recognition of the nuances of the “behavior” of the marker, even rather primitive methods begin to give amazingly accurate results.
The options described below seem difficult and time-consuming only in verbal expression. In practice, with knowledge of the theoretical foundations, everything is much easier and more fun. However, the presence of an experienced angler nearby, explaining the nuances on the spot, in any case does not hurt.
Marker float
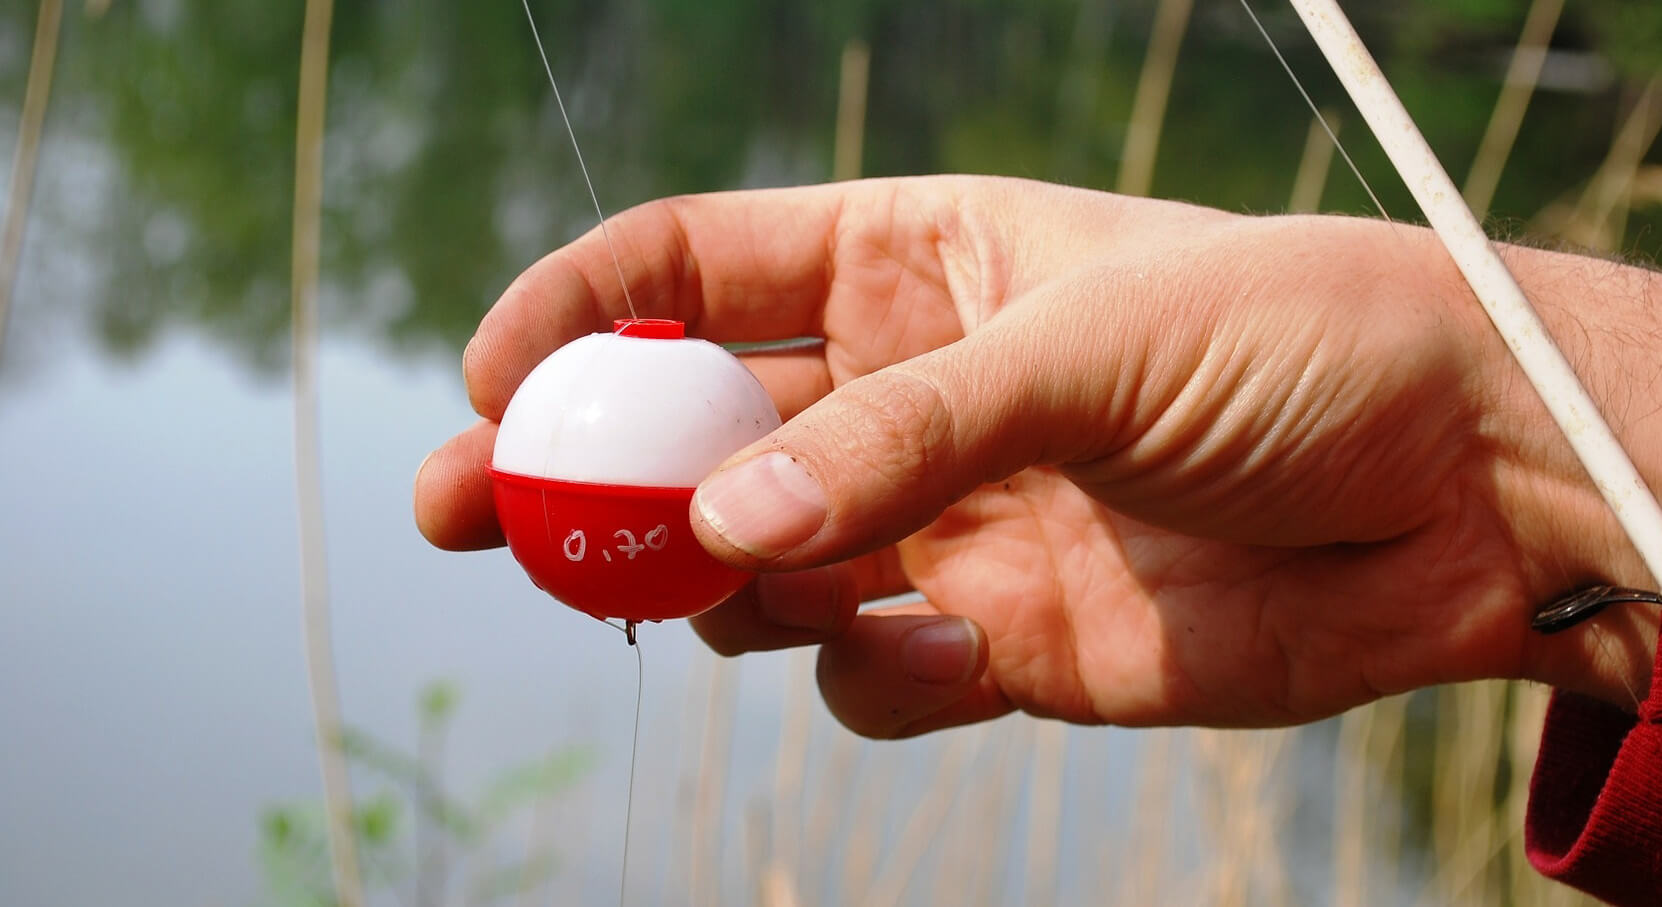
The marker float is a piece of equipment specially sharpened for our purposes. Experienced matchwomen prefer to determine the depth with the help of sliding rigs with a marker, but sometimes feeders and other advocates of bottom fishing do not disdain this method .
First, you need to build an appropriate sliding mount. We recommend using ready-made marker sets sold in specialized retail chains for these purposes – they certainly have everything you need.
We act as follows:
- We take a diverter leash with a carabiner on one end, a swivel and a carabiner on the other. Ideally, it should have a soft “boot”, which largely protects the installation from clinging to algae and all kinds of debris.
- At one end of the leash, we hook a weight. Its weight can vary within a fairly significant range. At long distances and during currents, sinkers weighing over 100 grams are used; in calm water, half the mass is sufficient.
- We put on a large foam rubber bead on the opposite end of the leash, passing it through the carabiner. Its purpose is to slightly raise the assembly above the bottom, preventing the load from burrowing into the silt.
- We attach a swivel to the carabiner near the bead and pass the main line through it (or an additional ring on it). It should already be attached to the spool.
- On the fishing line, after retraction with a load, we put on successively a rubber bead-limiter (so that the load does not hit the float) and a rubber cone with an expanding hole inside (on the narrow side of the hole).
- At the free end of the fishing line, we attach a carbine with any reliable knot (“palomar”, “clinch” and so on). The simplest example: we wrap the free end around the base several times and pass the “tail” into the loop near the fastener.
- We fix the marker float on the clasp. We close the junction with the rubber cone already on the line. That’s it, the marker rig is ready!
Now we need to go to the reservoir, the depth of which we will determine. Let’s assume we’re already there, so we start manipulating:
- We make a length mark on the rod (with electrical tape or in another way). We note, for example, that from the end of the spool of the spool to the mark is exactly half a meter. Basically, you can simply measure and remember the distance to the first ring of the blank.
- We are casting to a visually promising place (for example, to an island of vegetation).
- Taking the rod aside, we drag the load along the bottom, evaluating its “behavior”.
- By the behavior of the load (getting stuck, “sticking in the bottom”, vibration), we determine the promising place (hole, border of vegetation or shell rock, other anomaly).
- Keeping the cord taut, weaken the friction clutch .
- Manually bleed the cord from the spool to the mark on the form, counting the number of broaches. In other words, we measure the length of the line that has been ejected.
- Stop bleeding at the sight of a floating float. We count the bleed: for example, we bleed half a meter of fishing line six times, which means that the depth in this place is three meters.
- If you need maximum accuracy, add the installation length from the weight to the marker pen to the result obtained – let’s say 40 cm.
Tapping the load
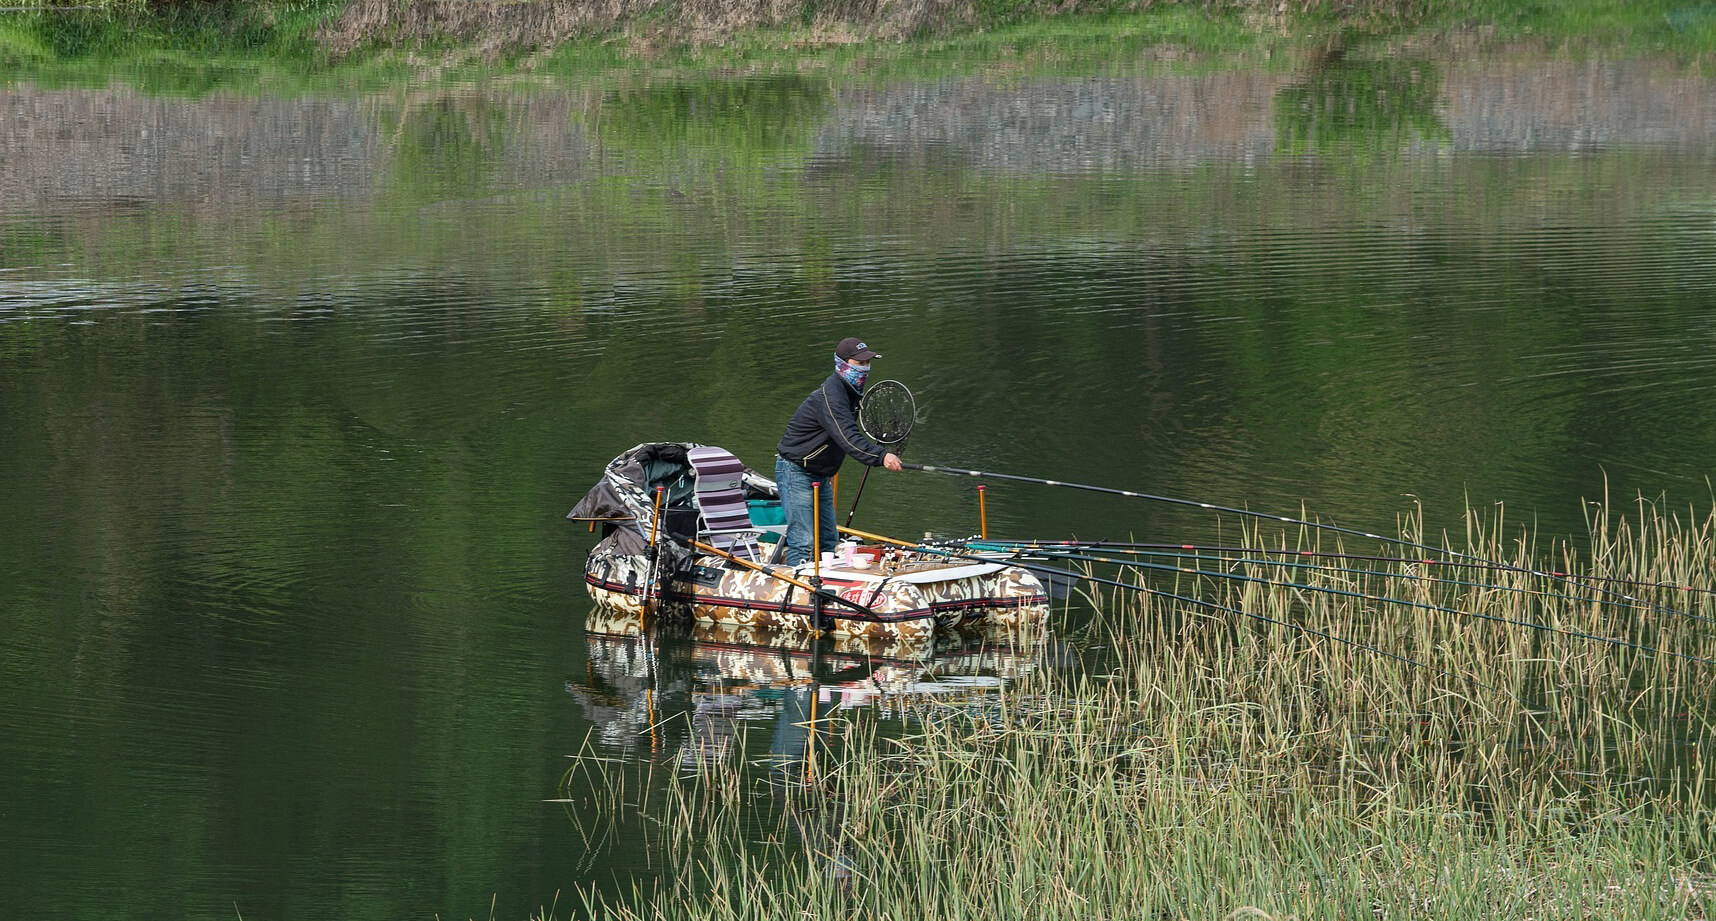
Tapping is an interesting enough measurement method, common among feederists. It is less accurate and more time-consuming than the version with a marker, but it does not require any special equipment in principle. In this case, you just need to have a feeder or any other strong rod with equipment that allows you to make long casts. Well, and be able to count, of course!
The algorithm for determining the depths in this case is as follows:
- We decide on the direction of the cast. To do this, you can choose a landmark on the opposite bank or an island of vegetation, for example.
- We fasten the load on the cord in any convenient and reliable way. It is better to use a carabiner: it is easier and faster to change the equipment to a working version.
- We carry out casting in the chosen direction.
- When the cargo lands on water, we start counting, when it touches the bottom, we finish. In a second (one count), the load falls by about 1 meter, but much depends on the speed of the current, as well as the weight of the sinker.
- We make several revolutions of the coil (we count the number of revolutions, remember, then we wind up, keeping the same number of revolutions), clip, repeat the cast. Usually the handle of the reel is turned 3-5 times (the more turns, the greater the error in measurements).
- We repeat the calculation algorithm when the load touches the water and the bottom.
Thus, you can measure the bottom in a given water area up to the coast and get a clear picture of the relief. Measurement results can be recorded and easily converted into a distance-depth graph. Now it is enough to choose the most attractive area from the point of view of fish and carry out an aimed casting exactly there.
If desired, you can avoid constant clipping and simply retreat into the depths of the coast (if local conditions allow it).
Stepped wiring
If you specialize in spinning fishing , you can also find out the depth of the reservoir using a typical jig line. The specificity of this method of fishing lies in its great dynamism, because during the period of gluttony the predator loiters all over the reservoir. However, in summer, when pike and humpback perch become less mobile and prefer to hunt by ambush, the study of the bottom becomes relevant for the spinning player.
To achieve the result, it is better to use either a heavy jig head with a large silicone bait (this makes it easier to recognize its appearance on the water at long distances), or a regular drop-shaped weight. Due to the manipulation of the reel (it is not recommended to use jerks with the rod for a beginner, it is difficult to calculate their strength and amplitude), the load moves along a stepped trajectory, from the surface to the bottom.
Determination of the depth and relief of the reservoir using a spinning rod looks like this:
- We cast in the chosen direction.
- We calculate the time of the fall of the load (from touching the water to the bottom).
- We make a few turns of the coil until the load floats up and repeat the counting.
- We repeat the manipulations until a steady decrease in depth in the area of the coastal dump.
- We evaluate the results, change the bait to a working one, throw it into a promising place.
This method is not very accurate, but knowledge of the relief to the smallest detail is not necessary when hunting for a predator with a spinning rod.
Draw Combinations
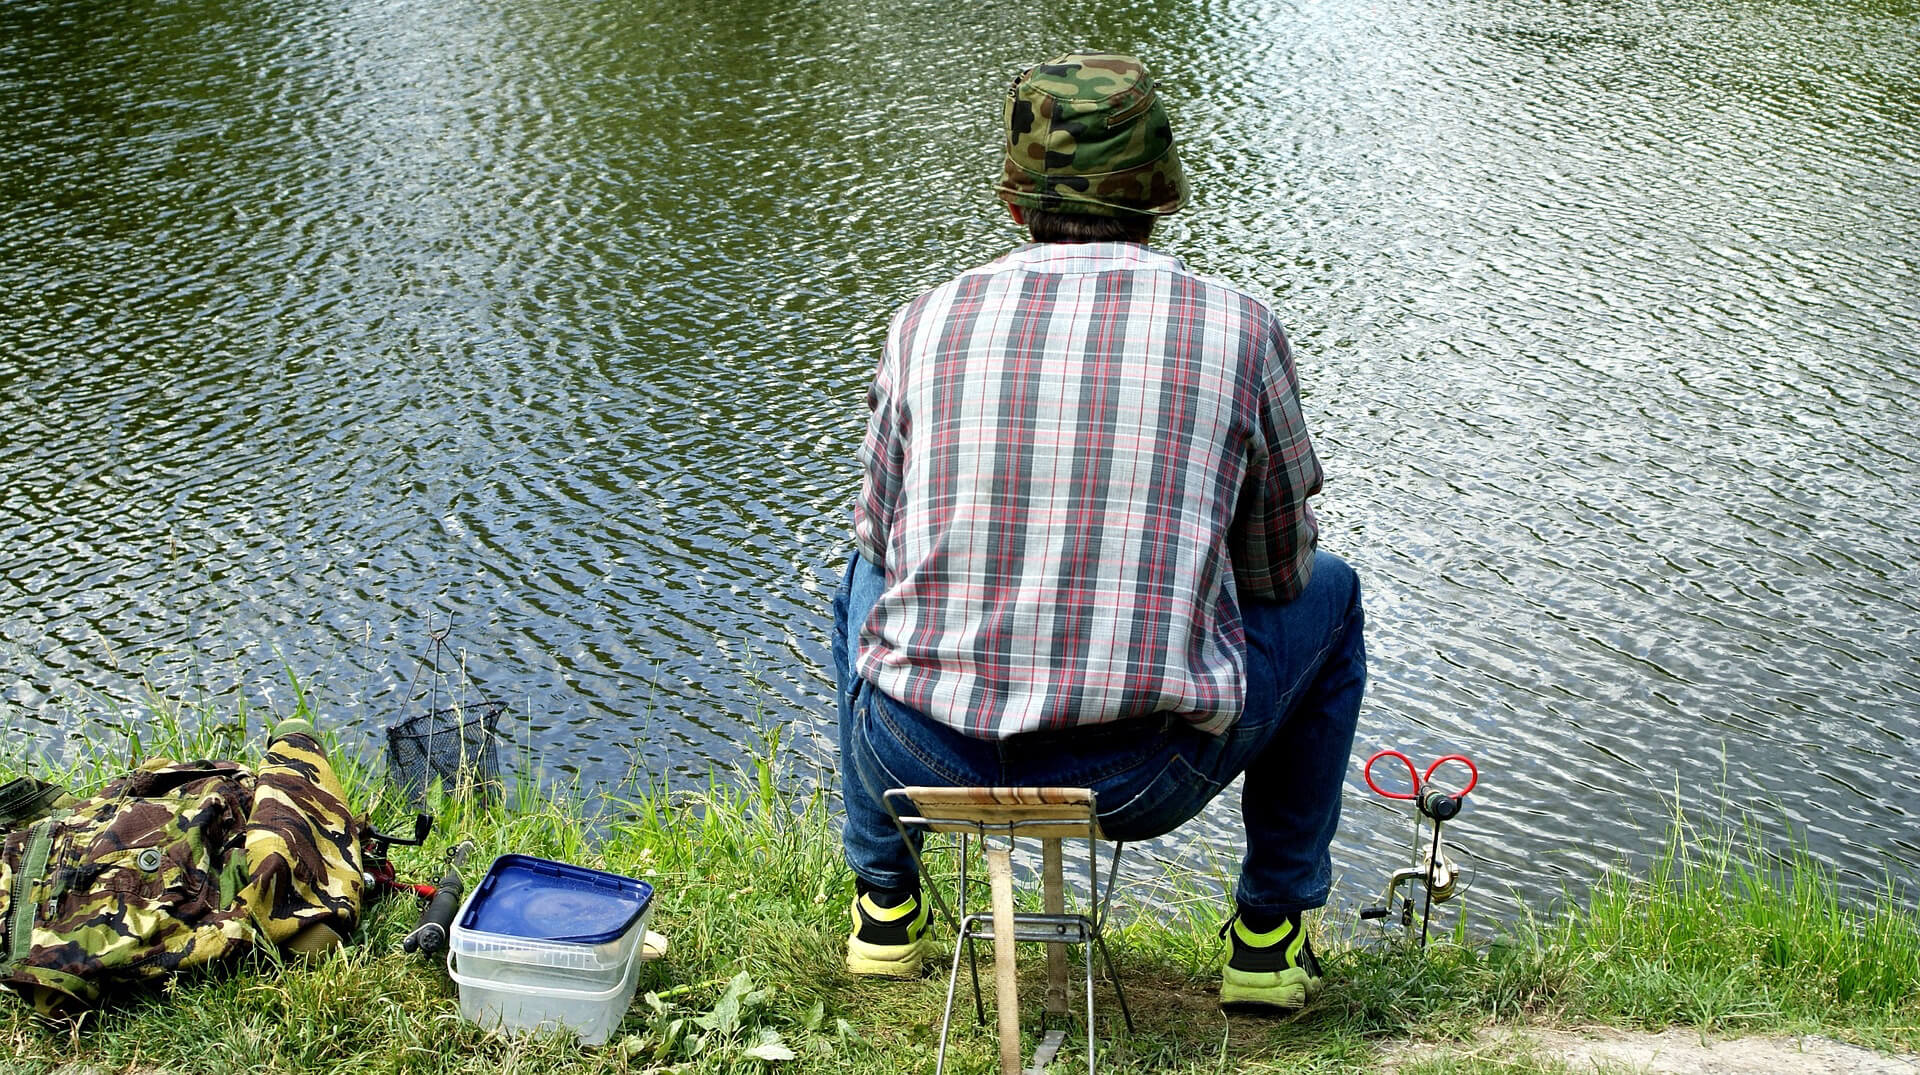
The first three of the above methods can be productively used in combination with drawing. This means that casts can be interspersed with dragging the load along the bottom surface. In this case, the angler is given the opportunity not only to determine the depths of the selected water area, but also to get acquainted with the nature of the bottom surface.
Dragging the load along the bottom is provided by pulling the rod to the side or to the side / up. An experienced angler can recognize the boundaries of bottom anomalies and the nature of the bottom soil from the rod’s “behavior”. The most sensitive and indicative are the fast action blanks.
So, we remember and learn to read information:
- We feel trembling and tapping – dragging over the pebbles.
- A small tremor indicates shell rock.
- The load goes hard, with hooks – at the bottom of the seaweed.
- The dragging pattern does not change – an even sandy or hard clay bottom.
- The cargo sticks strongly – you are in a silted area.
- Dragging harder – the depth decreases, easier – increases.
The most indicative for studying the bottom is a load with peculiar blunt “spikes”. But an experienced fisherman reads information from an ordinary “drop” or “pear”, and they cling less.
Lot use
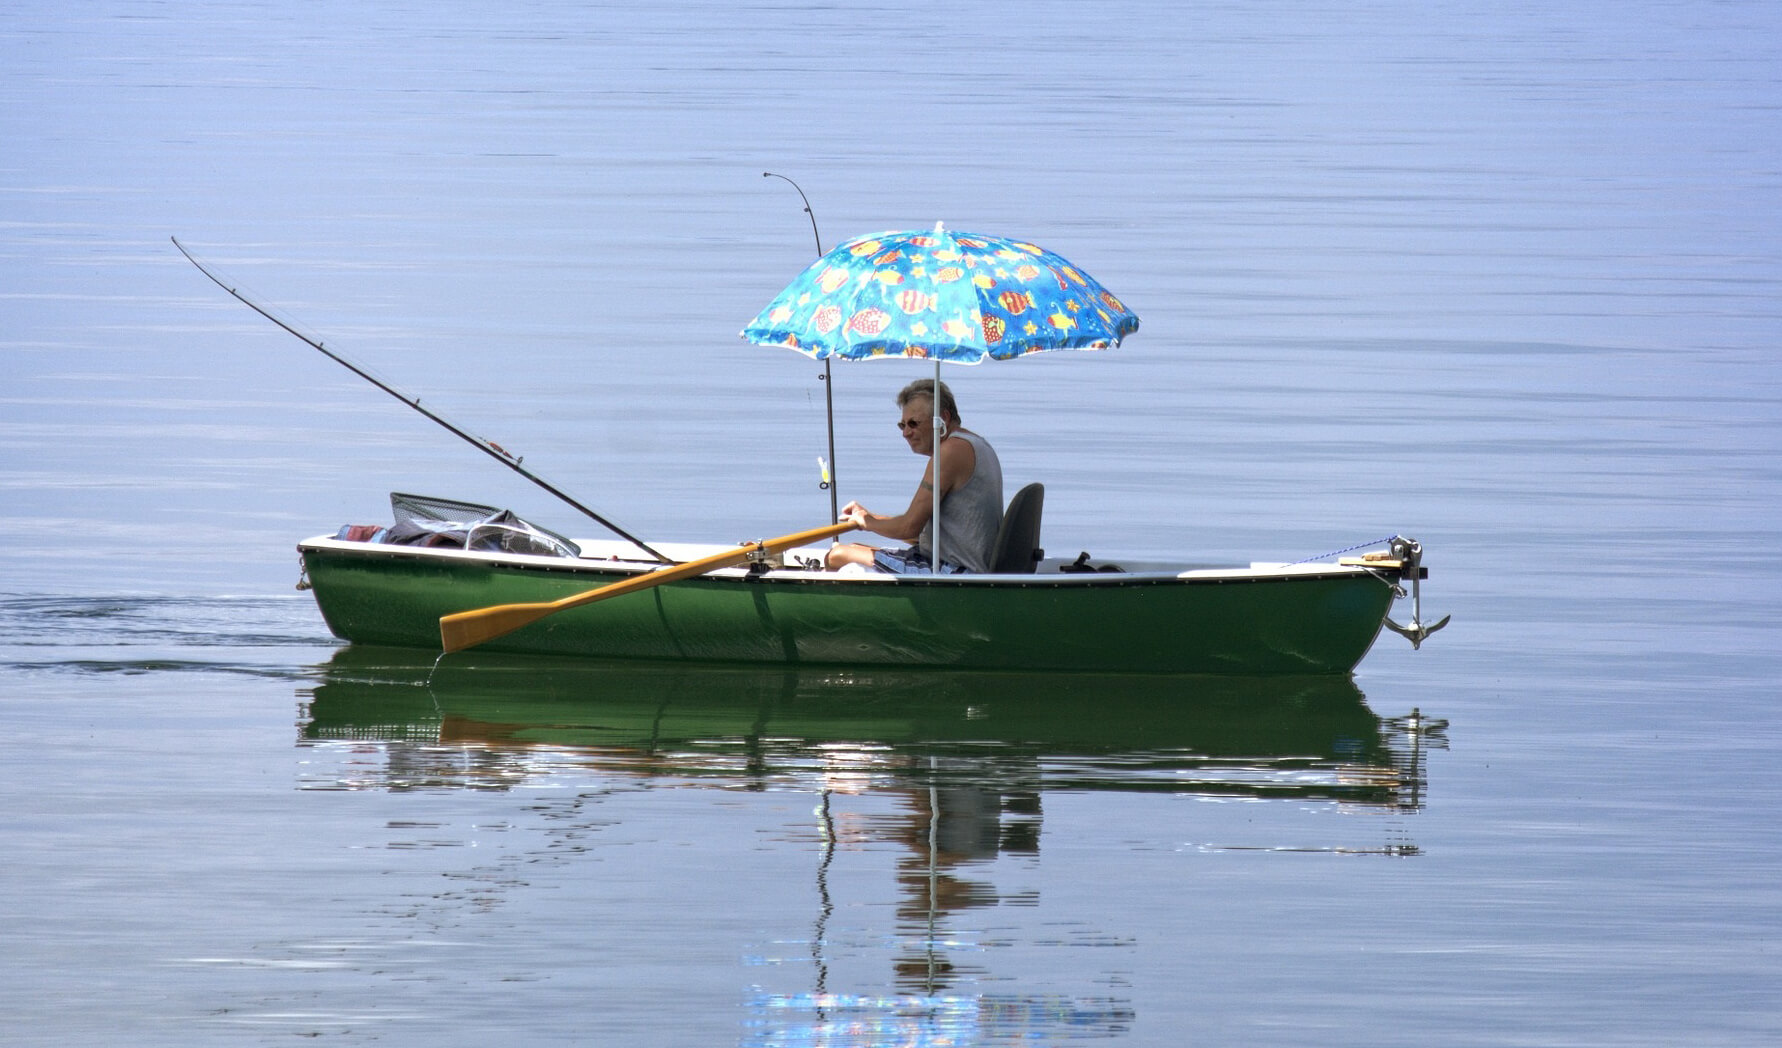
If you have a watercraft, measurements are greatly facilitated. At shallow depths, you can successfully use a regular pole with marked measuring marks (you can, if you wish, build it from old rods). With special efforts, you can even get a telescopic pole of a decent length, instantly brought into working condition.
However, more often used are primitive rope lots, which have been used to determine depths and search for navigable routes from time immemorial. The design is obscenely primitive: we take an ordinary strong nylon rope or an unnecessary thick cord and mark it every half-meter, at the end we impose a load – even a piece of brick or stone.
We make measurements from the boat, looking for the most attractive place. Further, we either anchor and catch at a promising point, or mark a promising place with a buoy for further casts. You can use an ordinary empty plastic bottle on a rope of the appropriate length with a weight, or mark a point with a navigator.
The use of primitive lots is also possible for winter fishing: in this case, the entire area of the reservoir is available for vertical measurements.
Measuring depths with an echo sounder
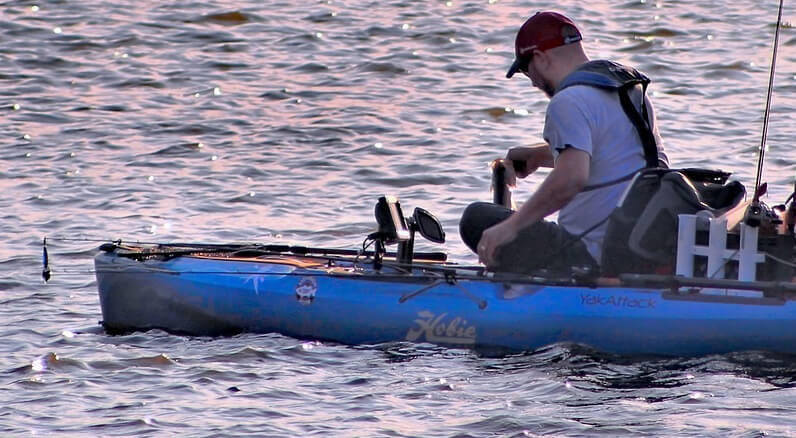
Progress does not stand still, and the production of fishing goods is no exception. Therefore, a modern angler does not need to spend time studying the depths and bottom topography – it is enough to part with a decent amount of money and buy an echo sounder. With this device, you can not only investigate in detail the nature of the bottom, but even determine the location of the fish. The echo sounder “reads” the fish by bubbles, with a fairly large error (taking other objects for fish or classifying a large predator with an anatomically small bubble as a trifle), but this is better than nothing.
To collect information, the device can use several beams that penetrate the water column. The more rays (and in advanced models their number can exceed a dozen), the better and more informative the picture, which is displayed on a black and white or color monitor. A good echo sounder will be able to locate fish at depths of 80-100 m, while displaying a color volumetric image on the monitor with an accurate indication of the horizon of the location of potential prey.
All echo sounders can be conditionally subdivided into two broad groups: wired and wireless (the first, all other things being equal, are cheaper). Corded models are simpler and more reliable, but their scope is limited: only from a boat or from an ice. The coverage of a large water area in this case is not fundamental, so you can get by with budget 1-2-beam models.
If you are fishing from the shore without a boat, it is better to opt for a wireless model. The transducer of this type of echo sounder is mounted on a line or float, and the display is mounted on a rod or angler’s wrist like a wristwatch. Some models are capable of displaying information on a smartphone (if the appropriate software is available, of course).
Fishing tips
Finally, as always, here are some tips from experienced anglers:
- Use a braided cord with the smallest possible diameter. For our purposes, the breaking load of the cord is not critical, so stop at the minimum “shown” for the weight of the intended production (the spool with the cord is not changed to a working version in all cases). Take a braid with a diameter of up to 0.2 mm: for most trophies its strength will be enough “for the eyes”, and windage even at long distances will be minimal. Why braid? Monofilament under the influence of loads and moisture stretches, which increases the measurement error.
- Measure the relief carefully, at short intervals. Castings with counting should fall on 3-4 revolutions of the coil: more revolutions – the greater the error.
- In conditions of a curled or littered bottom, do not drag. In this case, the risk of a dead toe is too great. Drop-shaped weights cling less, but they are not a panacea for getting stuck.
- Make a reference cast. To improve the accuracy of measurements when using methods that require calculating the time the load touches the bottom, you can make a reference cast to a nearby place, the depth of which you know well. For example, in a second, a load weighing 100 grams touches the bottom, and the depth at this point is one meter. This information can be taken as a reference point, however, it must be borne in mind that the strength of the current in different sections of the river is not the same, therefore, an error in determining the depth is inevitable. The greater the distance, the stronger the wind and current, the more inaccuracies.
- Benefit from the fruits of technological progress. If you are not too short of money and are really interested in the results of fishing, we recommend that you immediately get at least a simple echo sounder. Yes, this is money: the cost of a good budget model for coastal fishing (that is, wireless) starts from 100 dollars, but how much do you save time and your own energy! By the way, wireless models can be used not only from the shore, but also from a boat and ice.
Do not neglect our recommendations and do not be lazy to measure the depths when choosing a fishing spot – this will help you leave fishing with a catch, even with a bad bite!

