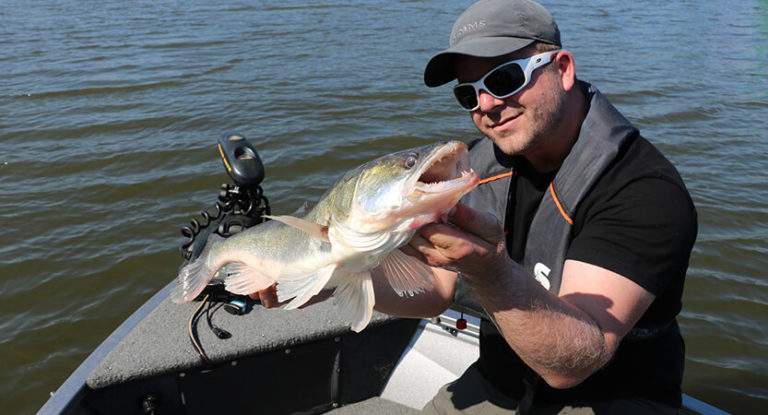
Experienced winter anglers say that there are no catchy and “empty” jigs: it all depends on the ability to own one or another bait. These skills include not only the correct selection of bait in accordance with the fishing conditions and the ability to give it the most seductive game. It is important to be able to correctly tie the jig to the fishing line, because this moment also significantly affects the effectiveness of fishing.
In today’s publication, we will deal with the simplest and at the same time reliable knots that allow you to attach different types of jigs to the fishing line. This applied art only seems difficult at first: later you will be able to carry out the corresponding manipulations almost by touch, and in conditions that are far from comfortable. So let’s get started!
Here is an overview of the content of this tutorial, feel free to jump to any section you care about:
For more fishing instructions, take a look at these popular Trizily links: Best Fishing Lines, Best Spinning Rods.
- Spinning Fishing For Beginners (Complete Guide)
- How To Choose A Spinning Rod (Complete Guide)
- How To Put Fishing Line On A Reel (Complete Guide)
Requirements for correct binding
Many novice anglers do not particularly bother with fixing the bait, considering this point not too important. This is a fundamentally erroneous opinion, which is refuted at the very first trips to the reservoir. The slightest mistake in tying – and the marmooska jig will not adequately respond to the manipulations of the fisherman or will go into the reservoir along with the fish that have been flattered by it. Moreover, the more delicate the rig, the more attention should be paid to this moment.
So, the basic requirements for correct commit are as follows:
- Correct orientation in the water . The bait must maintain the correct position in the water: this affects the effectiveness of the landing.
- Reliability of fastening . The importance of this factor is clear: an unsecured bait will leave with the fish when playing, especially if the trophy is large enough.
- Saving the configuration . This is especially important when fishing for passive fish, when the most delicate equipment is required, and a coarse knot can alert potential prey.
- Minimizing friction . Any friction against hard metal will negatively affect the strength of the line. This point is especially critical when using tungsten frames.
- Correct play . Any knot, one way or another, makes adjustments to the bait game. We must try to keep them minimal.
The simplest old-fashioned ways
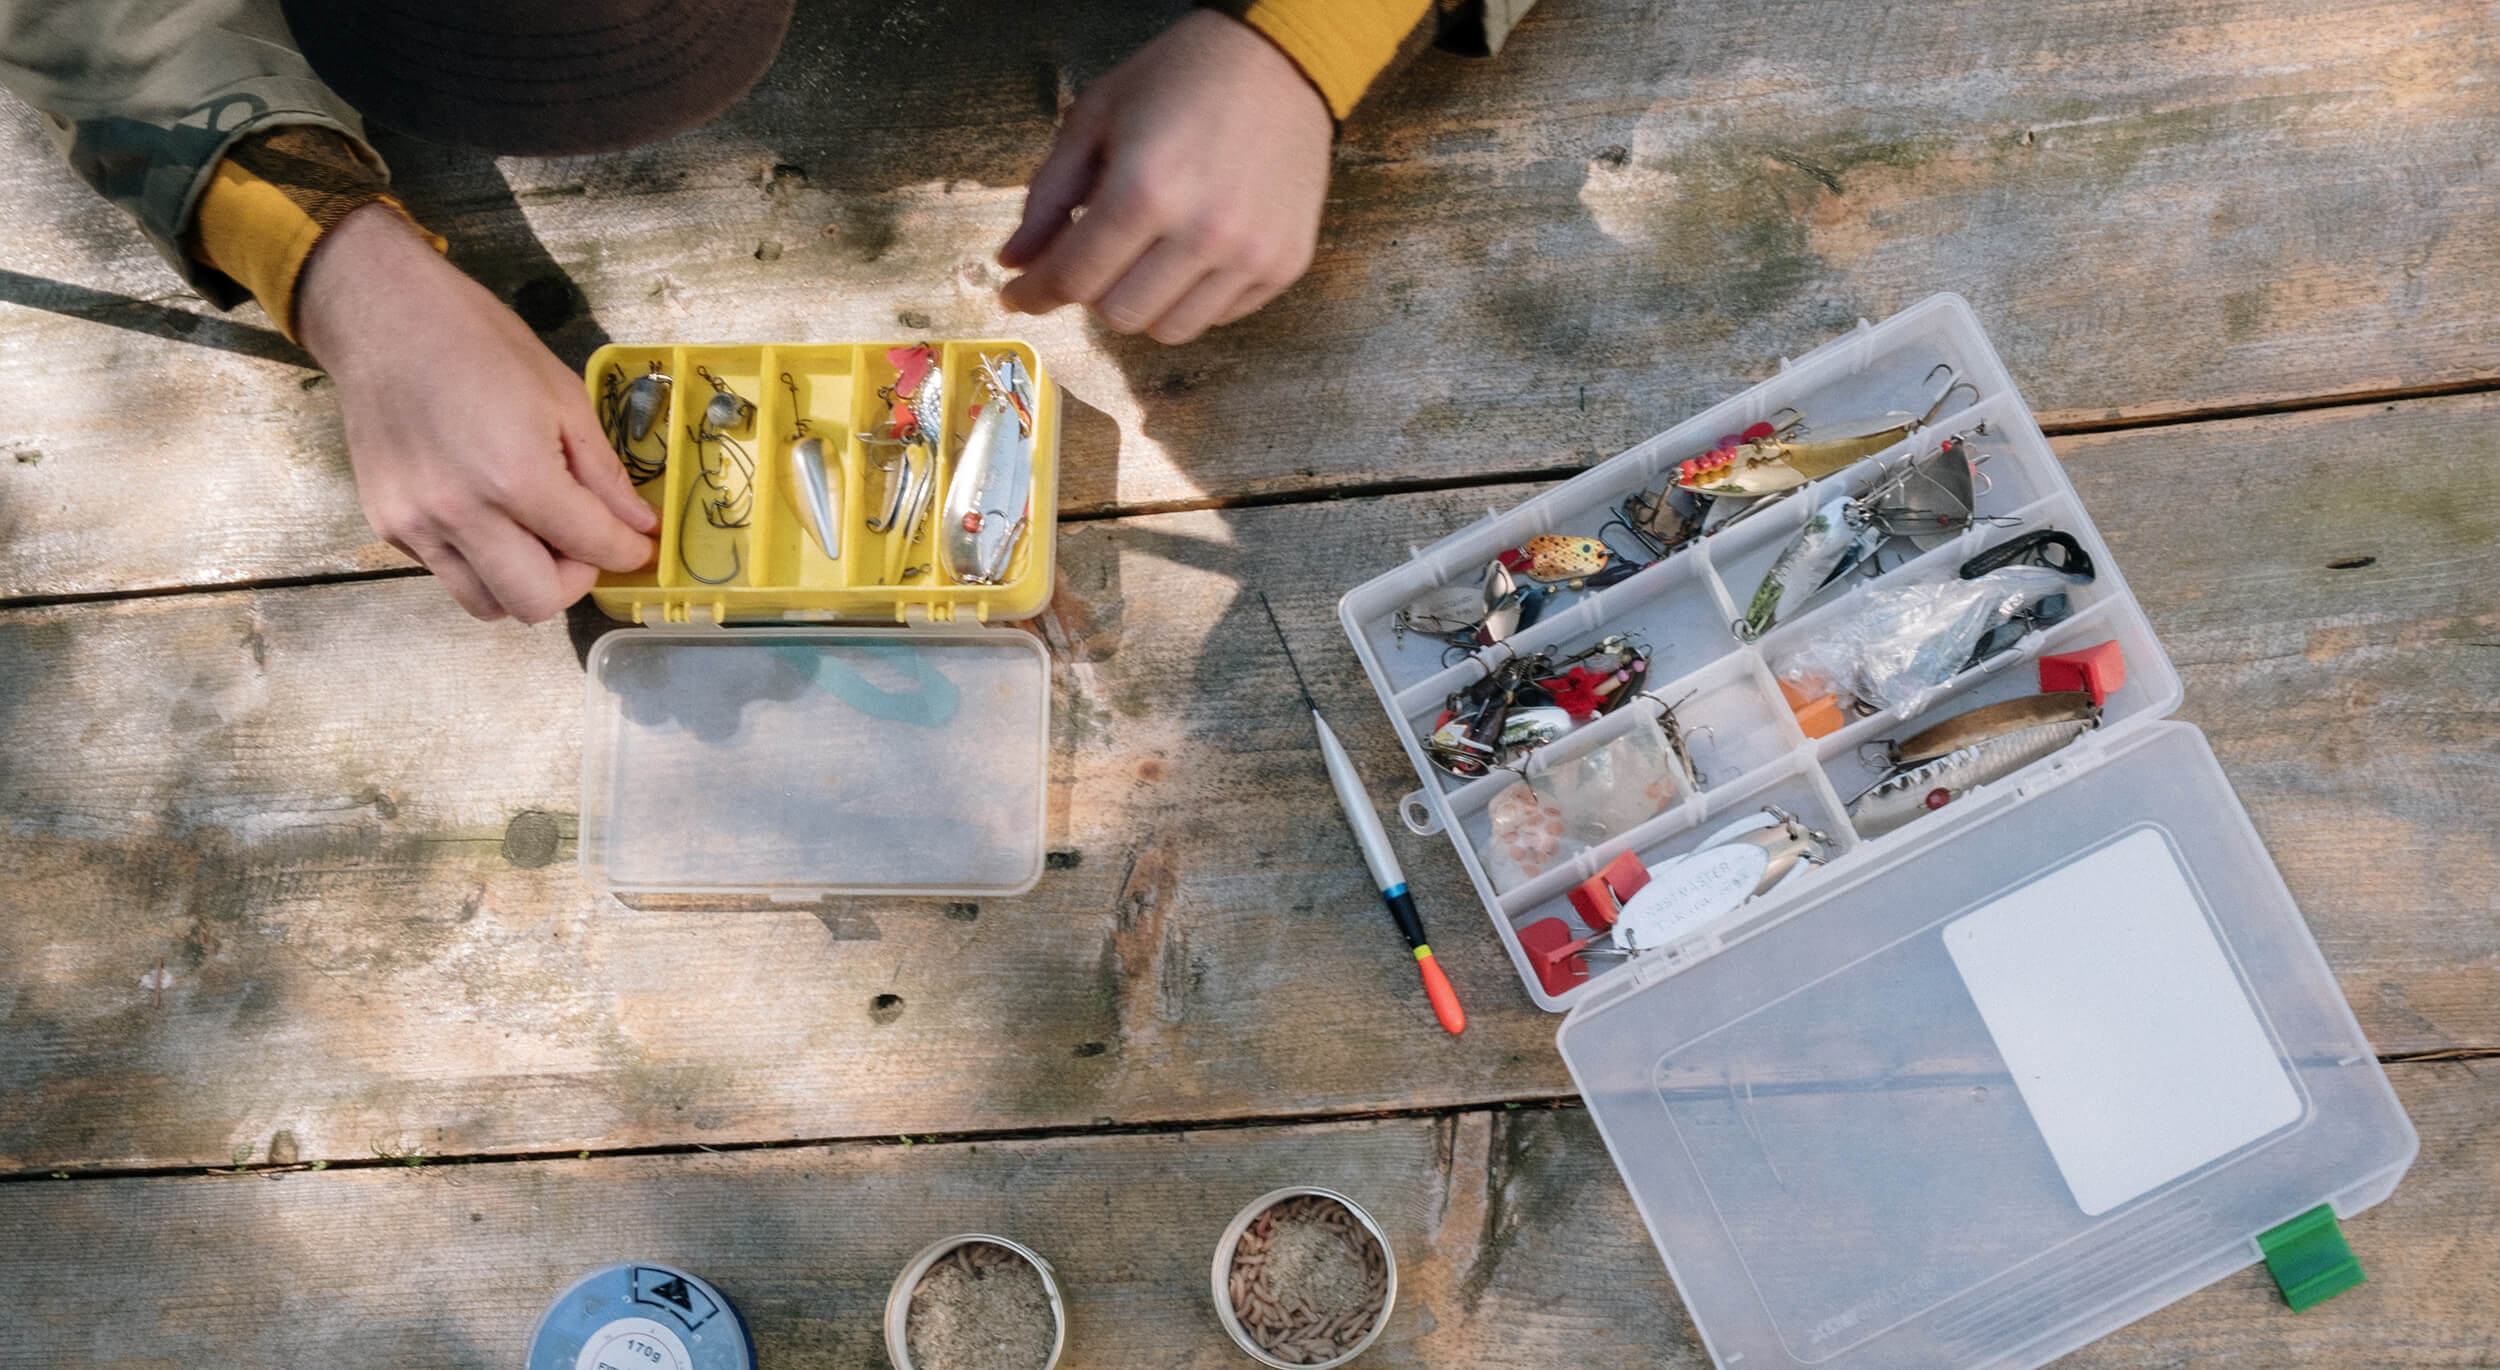
To begin with, consider the options with which lures were attached in the past. They were used even before the invention of modern monofilaments and lure lures. Now it is better to refrain from these methods: more modern nodes have appeared that maximally satisfy the requirements listed above.
Use with caution:
- Simple knot . This option is not reliable (the rig is weakened by almost half), and when the jig is tied with a fishing line over the body, it also gives it an incorrect position. A simple knot on the forend is more acceptable, but it does not provide sufficient strength either.
- Stop knot . Thus, the first football jig were tied, but sometimes the locking knot is still used now. The option is outrageously simple: the fishing line is threaded through the body of the bait, at the end a rough knot is formed. As a result, the jig freely walks up and down, which is not very favorable for the game, and the reliability leaves much to be desired. This method is applicable only when catching overactive fish with coarse rigs, but sometimes it is also used for waterless fish with a boost.
- Hook method . The classic version, which appeared by analogy with the imposition of a hook without an eyelet: the fishing line is located on the forearm, tied around it and itself. This method is still very popular and, in principle, not bad, with the exception of one point – the constantly arising friction.
Tying jigs with an eye
Jigs with an eye appeared much later than baits with a hole and gradually took their rightful place in the arsenal of any self-respecting subglacial. Now this is the most extensive family, including most of the rewinder and super-heavy jigs for a predator, which, strictly speaking, form a separate class of lures, approaching winter vertical spoons.
It is objectively easier to impose such baits, and a free position on the line can provide the most realistic game. In this case, the correct position is determined not so much by the quality of the binding as by the location of the ear.
All methods of tying lures with an eye can be roughly divided into three broad groups, each of which we will now consider individually.
Tightening knots
This group includes knots that tightly cover the ring and tighten on it. They are compact, simple, suitable for all rigs, but especially good on thin lines. There are many of them, so we will consider only two of the most common and simple to perform.
Perhaps the simplest and most reliable “Palomar jig” is knitted as follows:
- Fold the line in half.
- Pull the loop through the eyelet.
- We tie a loop in a single simple knot.
- We draw the bait through the loop formed at the end, starting with the hook.
- Tighten the knot on the ring well.
“Improved clinch” is a little less reliable, but almost easier than the aforementioned brother. We attach the jig like this:
- We pull the line through the eyelet.
- We make 5-6 turns of the line around itself.
- We return, we stretch the end into the space near the ear.
- We pass the fishing line into the formed loop between the entwined part and the “return”.
- Gently tighten the turns and tighten the knot.
Both of these nodes are stiff enough to allow some variation in the overhang angle. They are ideal for imposing the “damn” type of bezels where the game is required strictly vertically and any deviations to the side are not welcome. On the other hand, for most other jigs, a rigid tie is rather a minus, limiting freedom of movement.
Fixed hinges
In this case, we are talking about loops that are imposed on the fishing line and tightened on themselves, and not on the ear of the bait. As a result, the jig moves more freely, that is, the game is as realistic as possible, which is optimal for most rewinderless ones that do not require strictly vertical wiring. Such a binding is also relevant for wobblers and spinners.
On the other hand, in this case, the overhang angle cannot be varied – it obeys only the laws of physics, and the compactness of the rig suffers a little, which should be especially taken into account in the period of deafness passivity. In addition, the risk of chafing the line increases: the metal eyelet constantly fidgets at the bend.
As an example, we will give the simplest non-tightening loop, which resembles the already described improved clinch in execution:
- We make a simple knot on the line, but do not tighten it.
- We pass the end into the eyelet, and then into the resulting loop of a simple knot.
- We make five or six turns of the line around ourselves.
- We return and again pull the tip into a simple knot.
- Tighten the simple knot carefully.
- We tighten the turns to the knot and tighten it completely.
Hook ways
Hook methods of tying are relevant for jig with an eye and without it. As mentioned above, they appeared a long time ago, even before the birth of hooks with rings, and even more so, jigs. Despite some shortcomings, they are still successfully used by experienced anglers and almost all lovers of fishing with a bait jig without an ear. Their essence lies in the fact that the knot is completely located on the forearm, and the eyelet (if any) serves only to pull the fishing line.
As an example, we can cite a simple leash knot (“fishing noose”) – a kind of classic of the fishing genre:
- We pull the fishing line into the eyelet and stretch it along the hook to the bend.
- We form a loop and wrap the fore-end together with the fishing line towards the body of the bait.
- After a few turns, go back and pull the line into a loop near the bend.
- We tighten the line, cut off the end.
This is just one example of the hook method: according to the same principle, the “spindle” mentioned below is knitted and worked during fishing.
Knots for jig without ear
The “first-born” jigs were just lead pellets with slits through the body and were simply tied with a thin string. The first lures with a hole in the body were a qualitative step forward and required a slightly different approach to tying. They were made mainly of lead and tin, that is, soft metals, so the problem of rubbing the line was not so acute.
And everything seemed to be going well, but here’s the trouble: the soft jigs quickly deformed, which could not but affect negatively both their configuration and the quality of the game. Naturally, the industry quickly responded to the anglers’ problems and presented them with tungsten jigs, which have both a higher specific gravity and unrivaled strength. Everything is fine, but when tying tungsten jigs using traditional methods, even first-class Japanese monofilament is frayed in record time. In a word, the problem had to be solved – to come up with more functional units and introduce little fishing tricks.
Trusted
Before us is the best at the moment method of imposing baits with a hole in the body (including tungsten frames). In fact, the “spindle” is an evolution of the aforementioned simple driver assembly with some variations.
This method is truly champion in strength: line breaks are extremely rare, since friction is minimized. The Spindle is compact while still providing the most realistic animation possible. True, knitting it in the cold is somewhat problematic, especially without appropriate experience.
In this way, you can tie absolutely all jigs, but it must be borne in mind that the knot takes up some space on the forearm. In most cases, this is not a matter of principle, but reckless baits with beads lose their characteristics somewhat. The bead rests against the knot and does not hit the body of the bait, making sounds attracting the fish, or even gets stuck, which makes normal animation impossible.
So, the “spindle”:
- We pass the fishing line through the hole.
- We carry it along the hook.
- Go back to form a loop.
- We wrap the hook with the fishing line in two folds with the free end towards the body.
- After 5-6 turns, we return, thread the tip into the original loop and pull it to tighten the turns.
- Tighten the knot by grasping the line at both ends.
By analogy with the ear
In this case, we are talking about using a hole by analogy with an eyelet, that is, tightening a knot on it. In this capacity, the aforementioned “palomar” and “clinch” in an improved version can be used. They do not roughen the rig, especially if the hole diameter allows the knot to be hidden in it.
This method of tying is relevant for jigs, where most of the hook is occupied by plumage and other “decorations” (it does not load an already busy forend, does not interfere with the beads, and even allows you to somewhat adjust the angle of inclination). However, it should be borne in mind that the quality of animation in this case will suffer significantly, since the mobility of the bait will be severely limited.
Improved hook version
The knot can be located on the hook not completely, but only partially, that is, simply being fixed on it with one turn. Of course, this somewhat reduces its reliability (the most problematic is the point of contact between the fishing line and the hook), but it frees the fore-end and practically does not affect the freedom of movement of the beads, which is especially important for replant beads.
Such a knot is knitted by analogy with a simple leash or “spindle”. However, after pulling into the hole or eyelet (relevant for all jigs), the line is only thrown over the forearm, and then twisted and tightened around itself, without grabbing the hook.
In this way, it is much easier to tie the jig in fishing conditions, since there is no need to press the fishing line to the hook and get into miniature loops, so it has the right to life, although it is significantly inferior in reliability to purely hooked options.
Imposing multiple jigs
Sometimes it becomes necessary to use several baits (one usually acts as the main one, the rest play the role of provocateurs). The role of a provocateur is usually played by either a light jig with a ringlet, or an ordinary hook with all sorts of “jewelry” attracting fish. Usually, the additional bait is mounted 10-20 cm higher than the main one, but there are exceptions, up to the bottom location.
The top bait always comes first. It can be made sliding by limiting its mobility with stoppers or rigidly attached to the line using the aforementioned self-tightening rigid knots. Sometimes one or more optical illusion is attached to the main line on leashes with “opposite eights” (fold two lines, form a loop, twist it, stretch the ends, use the upper end as a leash) or through swivels. The use of swivels is especially important when fishing in a strong current, but the rig in this case will be far from sophisticated.
The nuances of tying tungsten frames
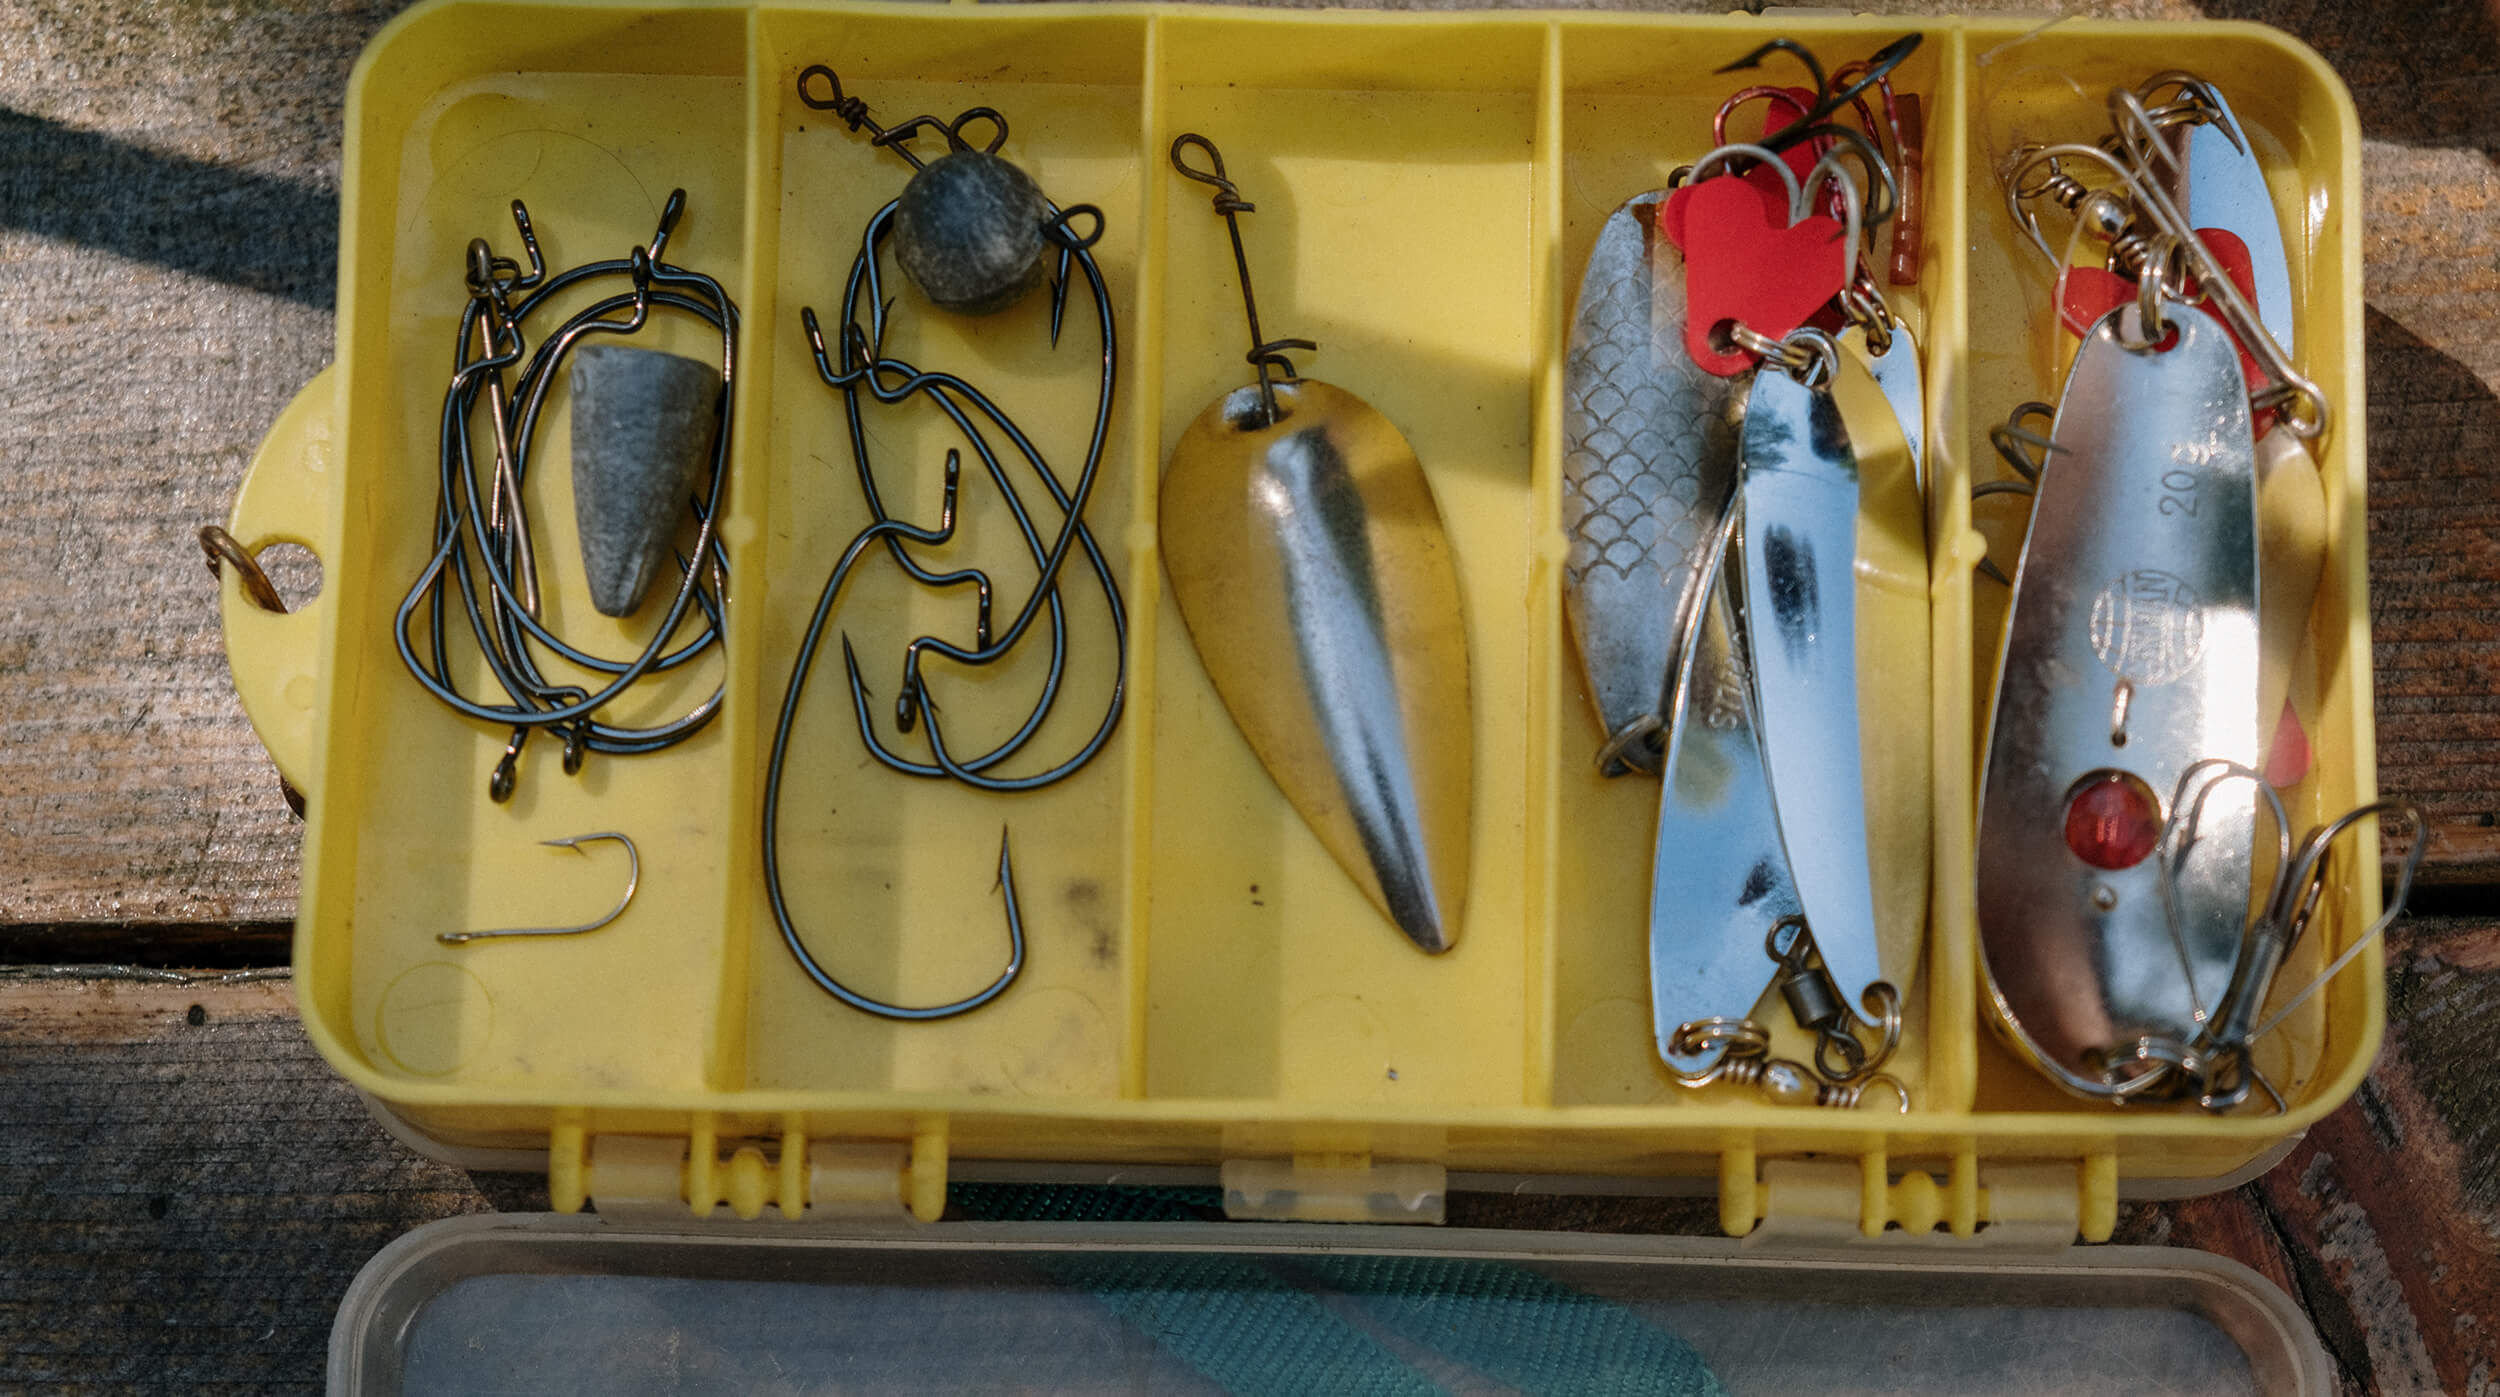
As mentioned above, tungsten jigs are a qualitative step forward compared to the classic lead and tin lures. Now they prevail in the arsenal of almost all experienced subglacials, although they are much more expensive than their classic counterparts.
Tungsten is heavy and hard, which minimizes windage and eliminates the risk of deformation, but there is also a downside to the coin: this metal is almost diamond hard, therefore, the smallest notch on the jig acts on the line as a powerful abrasive, which requires a special approach to tying.
Naturally, it is not possible to “clean” such a surface at home, this is not soft lead for you, but there are still ways to combat this negative phenomenon. The first and most common of them is the use of a cambric or fluoroplastic: we stretch the tube into the hole and cut it so that the edges are even and slightly peep out of the hole. If necessary, if the protector is loose in the hole, it can be secured with adhesive.
The second option is to create a temporary loop from a more abrasion-resistant cord, which plays the role of a ring. It looks like this:
- Fold the working monofile in half and stretch it into the hole.
- We pull the cord into the loop of the monofile, pull it through the hole with the monofile, forming a small loop.
- We tie the cord on the forearm with an ordinary single knot, then on the opposite side with a double one.
- We fasten the knot, controlling the loop.
- We tie the working line in any way for an impromptu eyelet.
Supporting toolkit
In principle, you can tie a jig without additional tools, but why not make this process more comfortable? This is especially important in winter fishing conditions or if your fingers are not too used to such sophisticated manipulations.
So, it doesn’t hurt to have on hand:
- Tailor’s pin . This is a needle with a loop or ball at the end. The presence of such a “handle” simplifies delicate manipulations such as clearing a clogged hole in the bait.
- Small scissors (you can even manicure). They are very convenient to cut the line, and they do not take up much space.
- A syringe and a needle from it . You can clean the hole with a needle, grind the edges of a lead jig, and use a syringe to blow through a hard-to-reach area.
- Knife . An indispensable accessory: you can cut off the fishing line, “chop” the cambric, and clean the hook from unwanted paint marks.
- Lighter . It is indispensable for melting the ends of the line.
If possible, get the smallest fly holder to make knots on your hook much easier.
Fishing tips
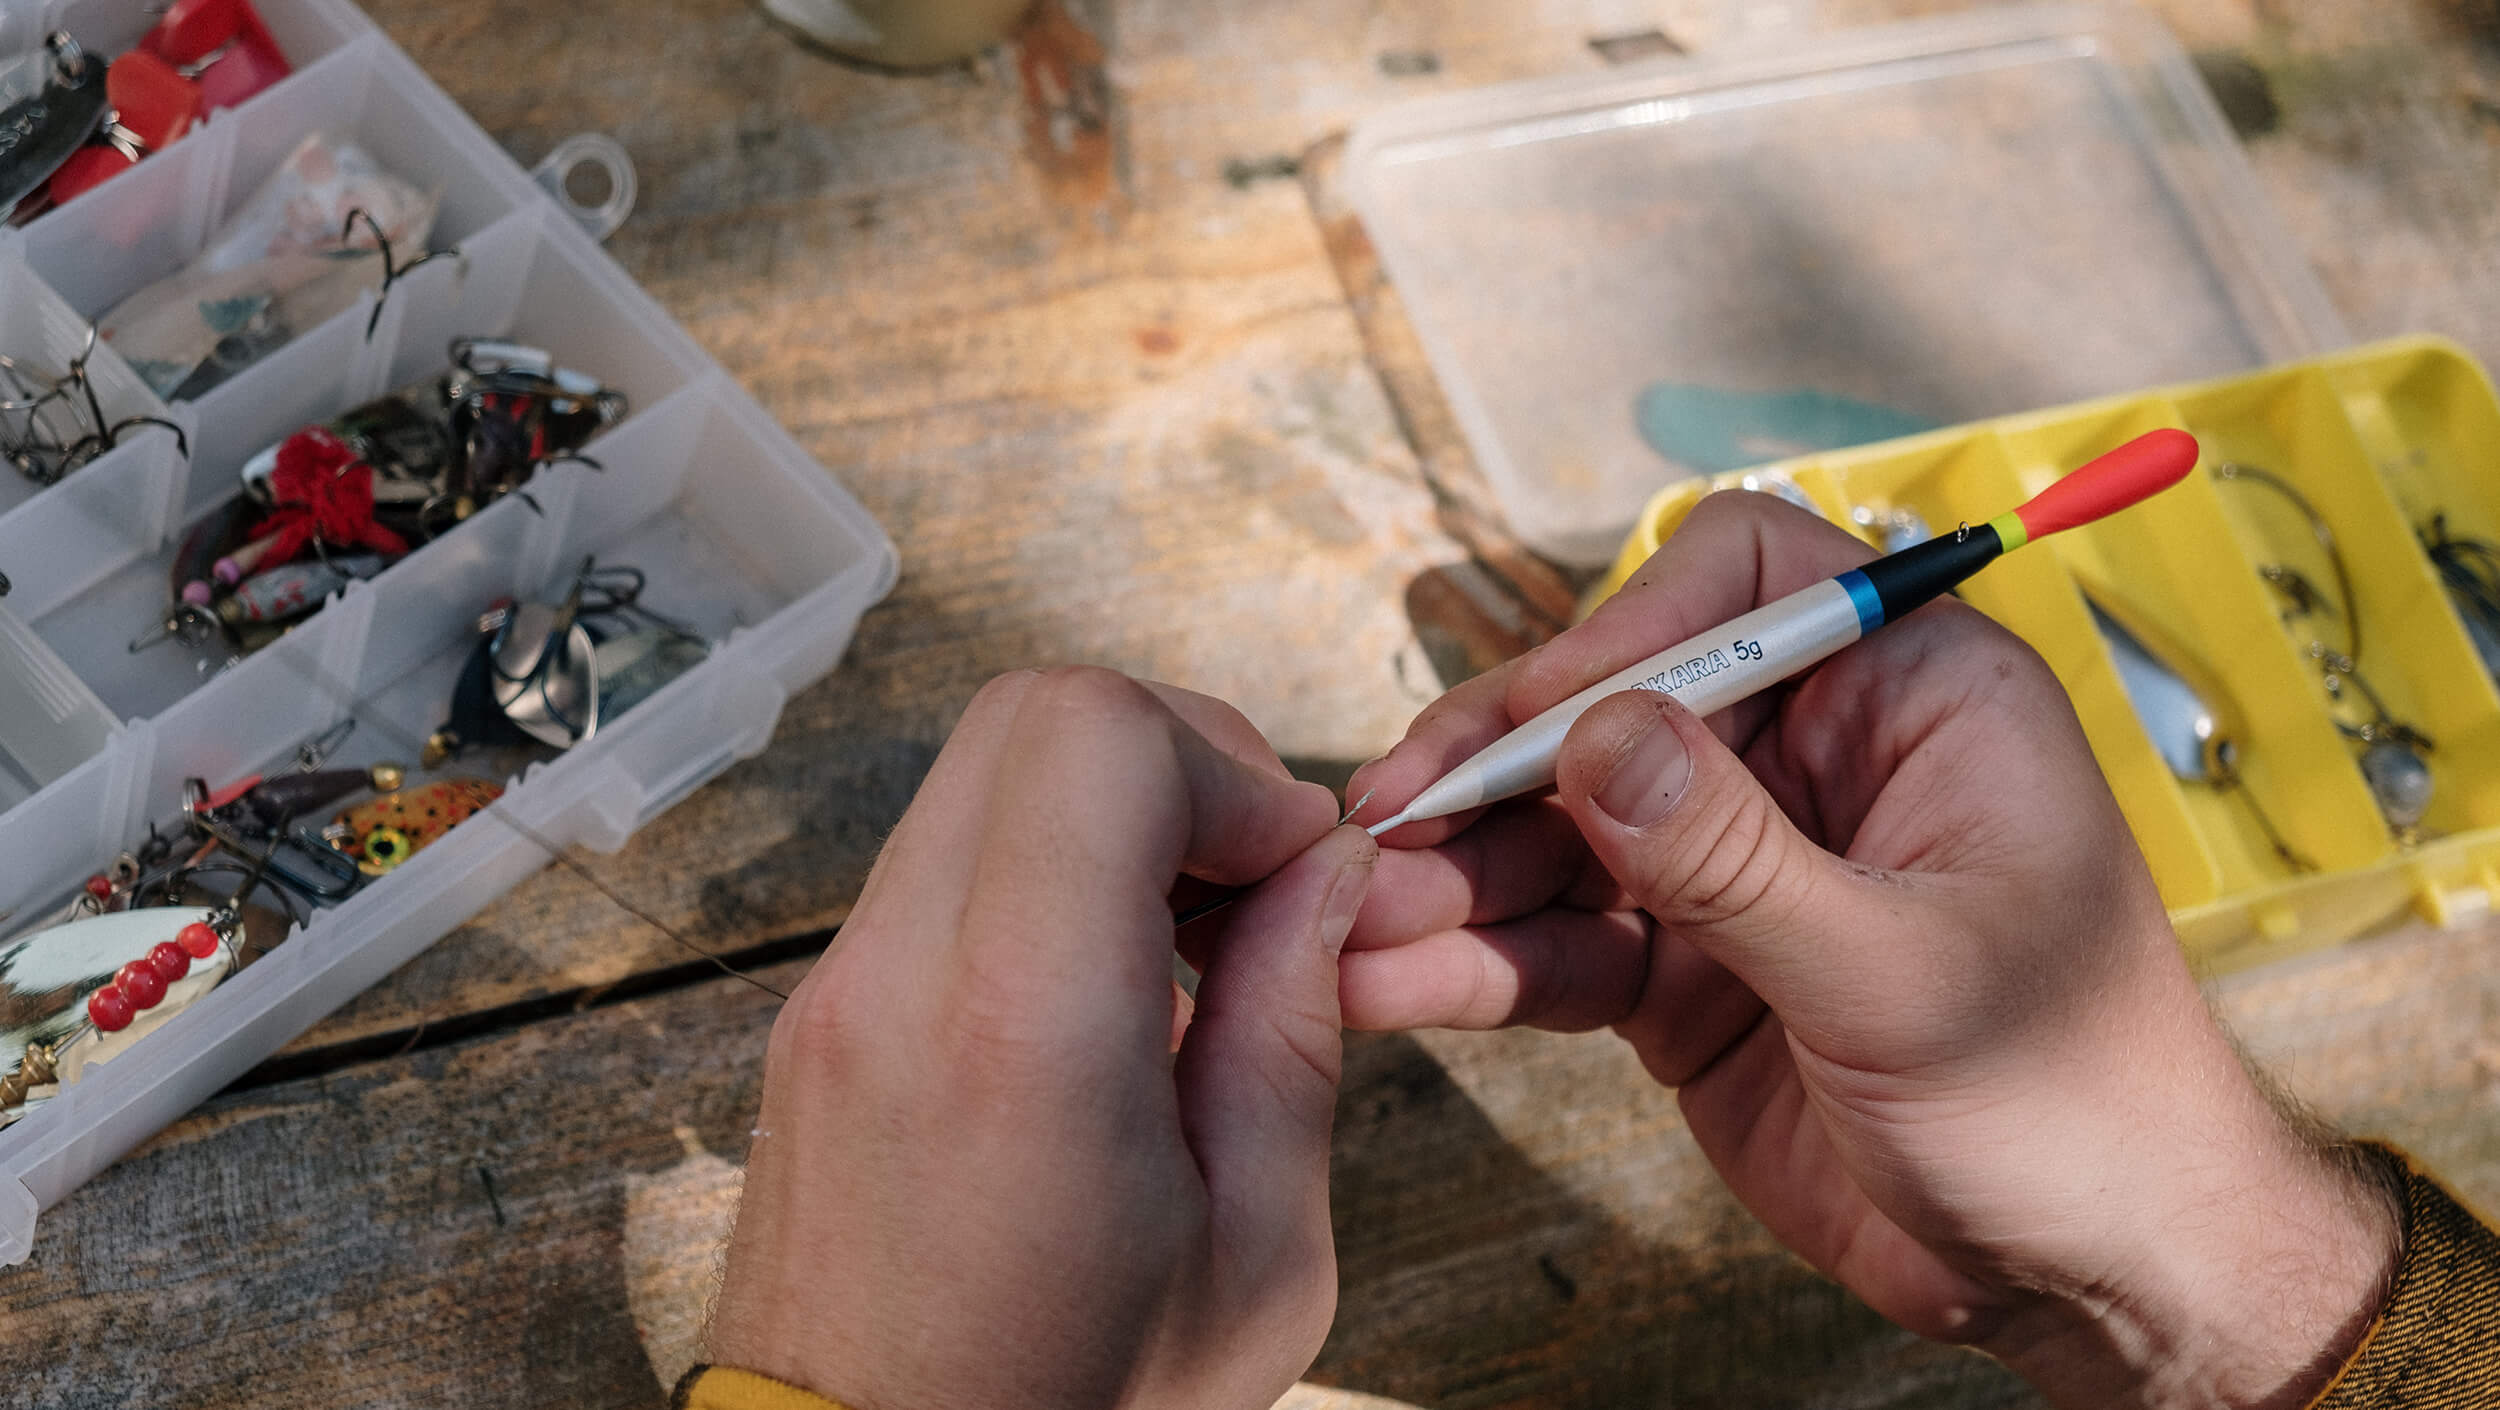
We will assume that you have already mastered almost all the basic wisdom, it remains to familiarize yourself with some of the nuances:
- Remember to wet the line . When tying a jig, constantly moisten the fishing line with saliva or water. The fact is that the monofilament stretches when it enters the water, which weakens the nodes. Similar conditions should be created for him “on the shore”.
- You can secure the knot with super glue . In principle, this is just a recommendation, but worthy of attention: a drop of superglue will strengthen any knot. True, this should be a really microscopic dose, especially when it comes to delicate rigs. It should be glued only after the fishing line is completely dry.
- Treat the ends . The tips should be kept extremely short, and in the end, remember to melt them until they soften. The resulting miniature ball will not only additionally secure the knot, but also prevent unwanted pricking of the fish when biting.
- Do not use double broaching unnecessarily . Some fishermen, who are especially concerned about the strength and quality of the binding, practice double and even triple pulling of the thread through the hole of the jig, forming several loops on its body. This is mainly motivated by the fact that then the line sits tightly in the hole, which allows it to be fixed in the most attractive position. This is partly true, but a similar effect can be achieved by using a cambric that fits as much as possible in size and a well-tightened “spindle”. The loops of the fishing line coarsen the rig, which is not welcome under normal conditions, and in the deafness of winter it is completely disastrous.
- Take equipped gear with you . Knitting knots in the cold is still a pleasure, but you can lose the bait, and the fishing conditions can change dramatically. And in general, without experiments, sometimes you won’t catch anything. Therefore, it is reasonable to take several fishing rods with you, equipped for all occasions – they weigh a little, the rig is inexpensive.
May your tackle always be in order, the weather is cool, and the catch is effective!

![The 8 Best Fly Fishing Nippers [Buyer's Guide 2023] 5 The 8 Best Fly Fishing Nippers [Buyer’s Guide 2023]](https://trizily.com/wp-content/uploads/2022/03/best-fly-fishing-nippers-768x768.jpg)
![The 7 Best Spinning Reels in 2023 [Buying Guides] 14 The 7 Best Spinning Reels in 2023 [Buying Guides]](https://trizily.com/wp-content/uploads/2021/12/033-768x415.jpg)
![The 10 Best Fish Finders 2024 [Reviews and Comparison] 24 The 10 Best Fish Finders 2024 [Reviews and Comparison]](https://trizily.com/wp-content/uploads/2021/12/best-fish-finders-768x415.jpg)
