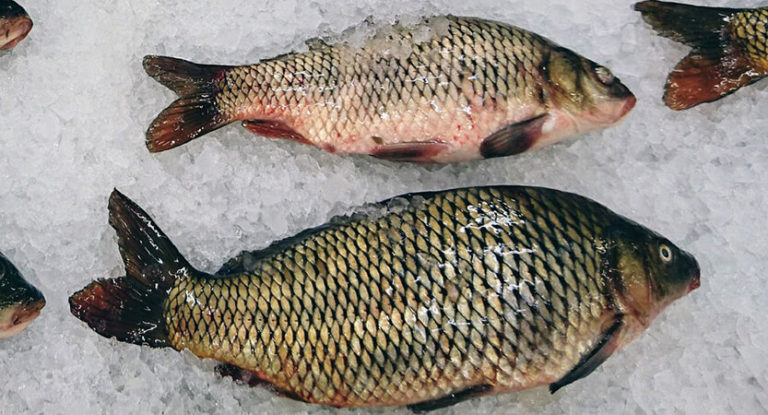
The bulk of large fish is concentrated at the very bottom and at a fairly large distance from the shore. In most cases, this makes fishing with a float rod on reservoirs with a vast water area unpromising. You can use a boat or a match rod, which allows for long casts, but feeder fishing is the most productive. With this method, it is possible to fish vast water areas at distances of up to 100 meters, carrying out a point feeding of fish with each cast.
The feeder is a very catchy tackle that can bring a lot of enviable trophies to a patient and experienced angler. However, she does not tolerate neglect at any stage: you need to correctly assemble the tackle, do some work over the installation, prepare baits and lures, find a catchy place, make depth measurements. And most importantly: you need to work a lot to improve the casting technique, because 90 percent of success depends on the angler’s ability to deliver the feeder with installation to the same point. We will talk about this today.
Here is an overview of the content of this tutorial, feel free to jump to any section you care about:
For more fishing instructions, take a look at these popular Trizily links: Best Spinning Reels, Best Baitcasting Rods.
Feeder device
The feeder is an evolution of the bottom rod in an improved and often more expensive version. The features of the rig allow you to fish at any distances and depths, in strong winds and calm, both with an intense current, and in its complete absence. The feeder’s task is to correctly read the changes in fishing conditions and to vary the rig in a timely manner.
The main element is a rod (blank), usually of the plug type. It is equipped with a spinning reel of sufficient capacity to hold at least 100 m of monofilament or braided cord. The main bite indicator is a flexible rod tip – a quivertip. The main line is crowned with the most inconspicuous leash and hook.
A feature of any type of rig is the presence of a feeder, which allows you to carry out a constant spot feeding during fishing. It is an integral part of the rig, affecting, among other things, casting accuracy. The pairing of the leash, hook and feeder (installation, rigging), and sometimes additional elements, varies depending on the fishing conditions, as well as the type of intended prey.
Rod
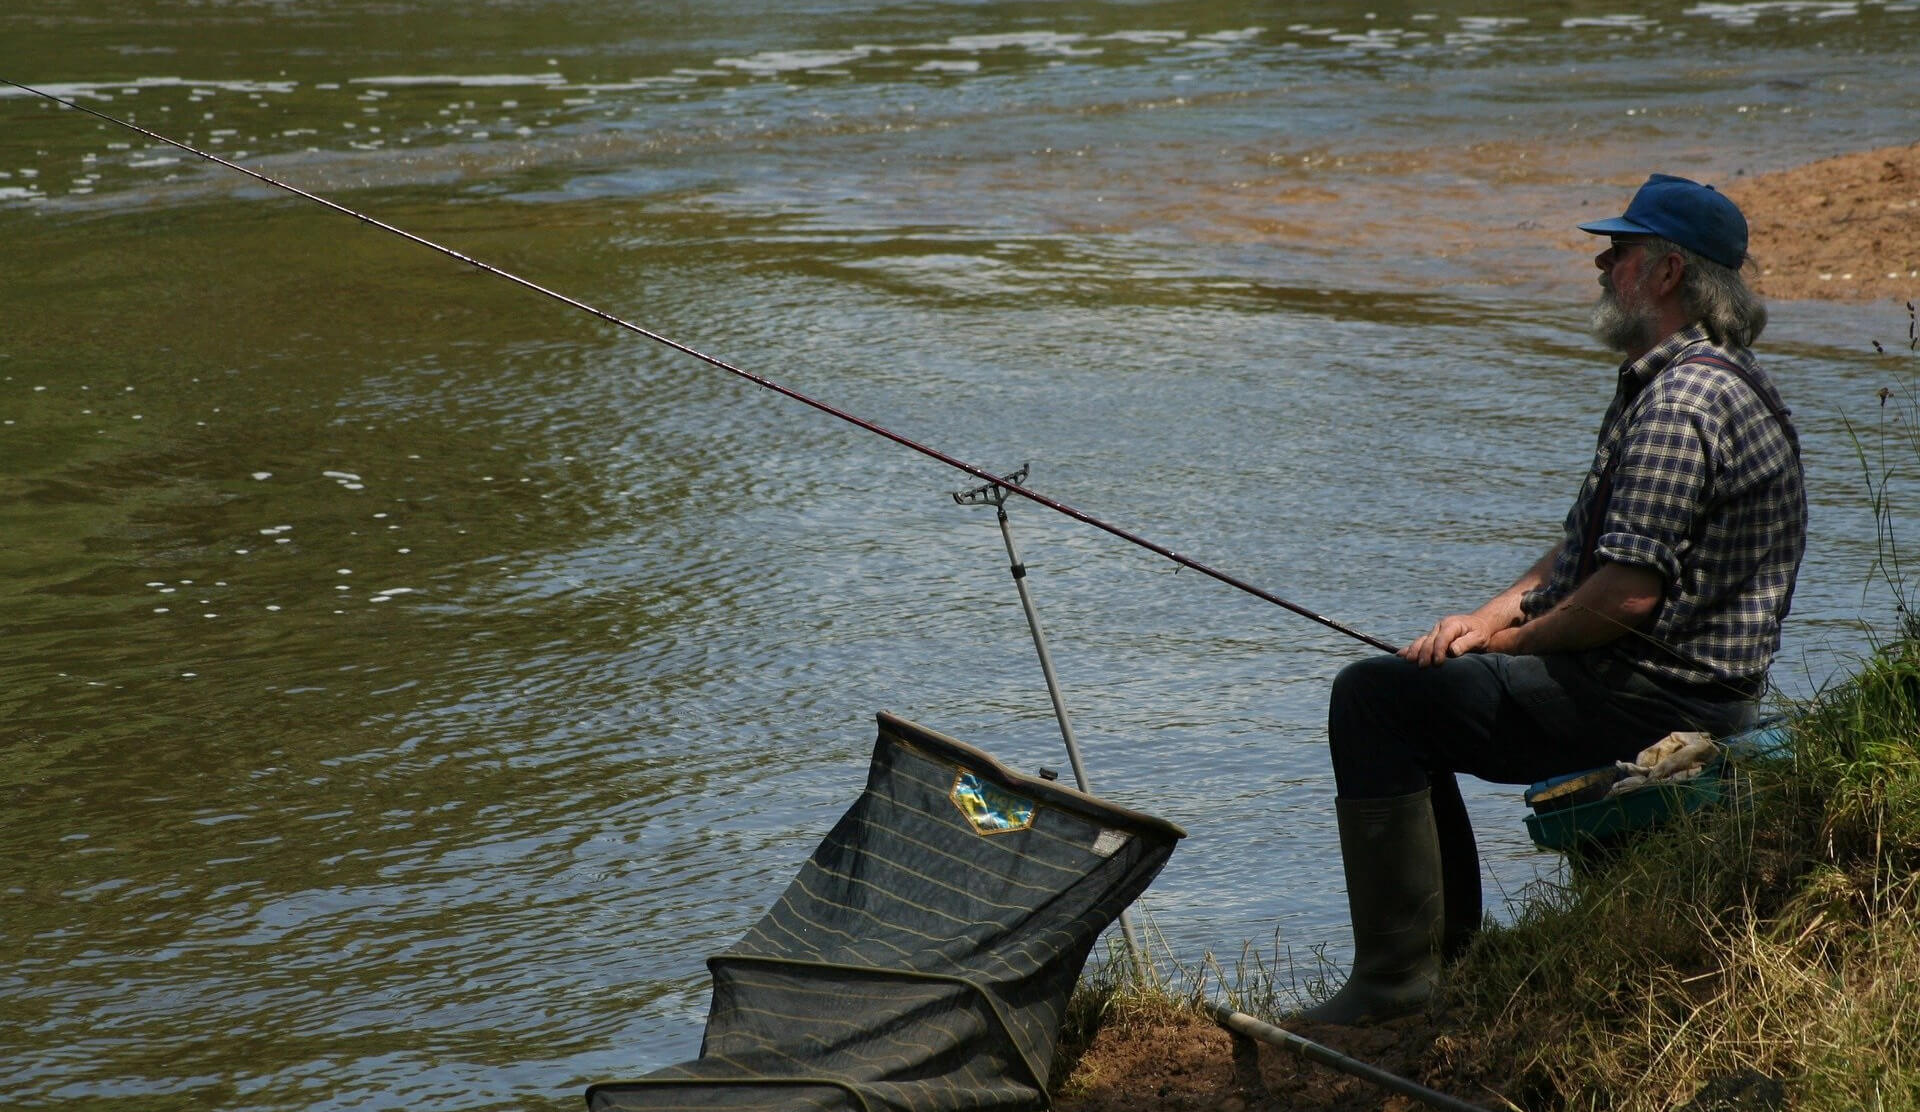
The effectiveness of fishing with a feeder largely depends on the correct choice of the blank. Usually we are dealing with a plug rod consisting of three elements (the fourth is a flexible tip, but more on that later). It is fundamentally important that the blank is as strong as possible, but lightweight, since in this type of fishing, long casts are performed once every 5-15 minutes. And if there are several feeders? The most popular rods are made of composite materials, carbon fiber and fiberglass.
Pay attention to the “grip” and smoothness of the handle: it should fit comfortably in the hand. Variants with cork handles are very good, but in our case this moment is not as fundamental as, for example, with spinning fishing . When buying a rod, it is advisable to pay special attention to the reliability of the device for attaching the reel, as well as the quality of the guide rings.
The characteristics of the feeder are dictated by the fishing conditions: distance, current, weight of the intended prey, and so on. There are three main parameters:
- Length . Everything is clear here: the length of the form. The longer it is, the more distant the cast can be, but the more difficult it is to handle. A beginner should be advised of an average length of 3.3 or 3.6 m: casting distances of up to 60 m are quite enough at first, and it is relatively easy to handle such a form.
- Test . An equally important parameter that determines the maximum weight of the rig that the blank can carry without losing comfort. There are three main classes: light (light, up to 60 g), medium (medium, up to 100 g) and heavy (heavy, up to 150 g). There are also rods on sale with other tests (ultralight, extra heavy), but they are intended mainly for professionals. It is wise for a beginner to choose “medium” as the most versatile option.
- Build . Roughly speaking, pitch is the rate at which a bite is transferred to a blank, which is determined by its flexibility. Maximum stiff rod – fast, flexible – slow action. For a beginner feederist, the medium or fast action is most suitable, which allows you to make sighting casts with an imperfect technique, as well as instantly react to bites.
Signaling device
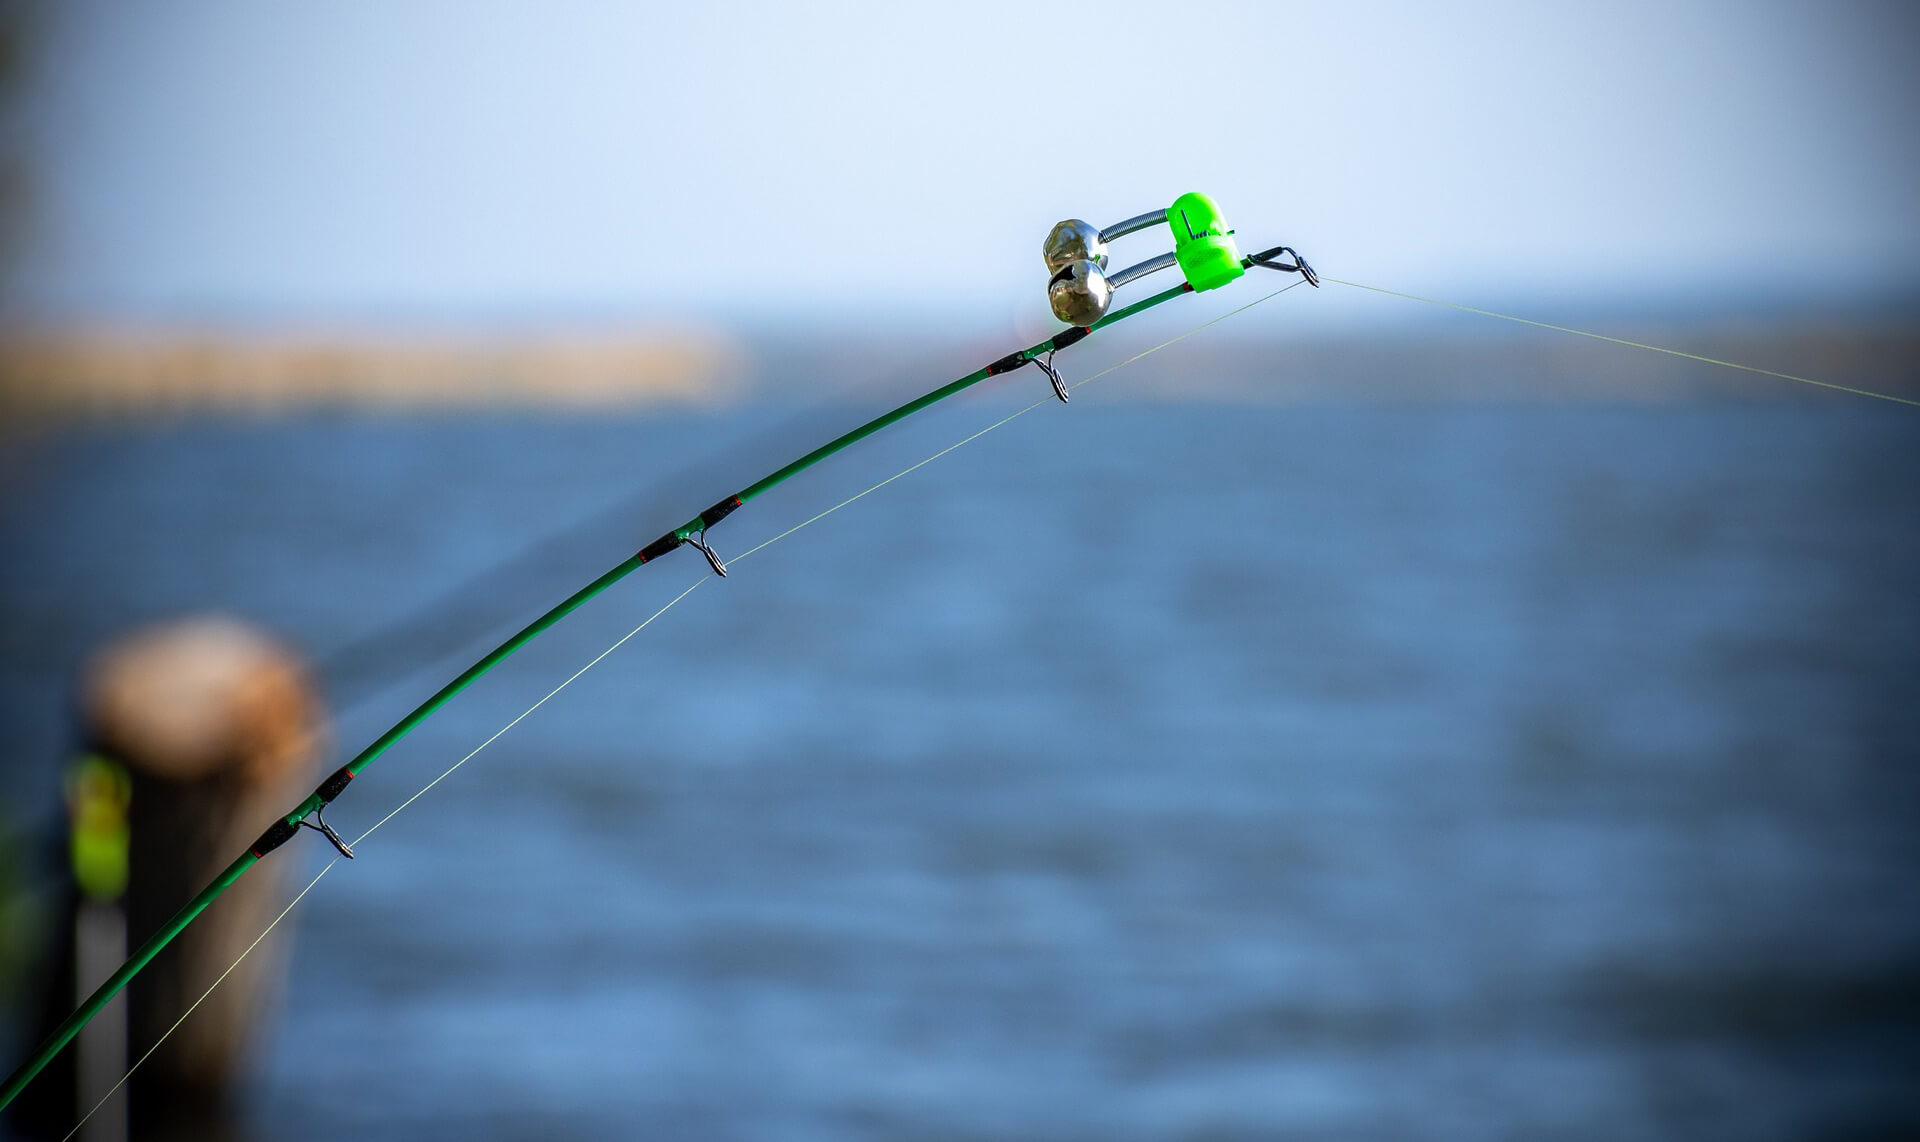
When fishing with a feeder, the use of an additional signaling device is optional: the main bite marker is a flexible rod tip – a quiver tip . The set with the form usually comes with three to five quivertips, packed in protective tubes. They are labeled according to the degree of hardness, in ounces: the lower the value, the softer the quivertip.
An additional signaling device is definitely not needed for a novice feeder: God forbid, he can cope with one rod even during daylight hours, and you can somehow keep track of one tip. However, experienced anglers simultaneously service three or more rods, sometimes located at a decent distance from each other. In this case, an additional audible bite alarm is required. In most cases, a bell or bells are fixed on a flexible tip or on a fishing line in close proximity to it. are – this is the most budget option.
Sometimes much more expensive and sophisticated electronic sirens are used. : they send not only sound, but also light signals, and some models are even capable of transmitting information to a pager. They are installed either on blanks or on racks for them (regular or rod-pods).
Reel
An unambiguously priority option is a high-quality spinning reel . Usually products of this type are labeled as “for the feeder”. Pay attention to the weight and strength of the reel body, as well as how securely it attaches to the rod of your choice.
For the most part, these are reels with a gear ratio of up to five: when fishing with a feeder, power characteristics are the priority, supersensitivity is not needed. Preference should be given to well-known fishing brands, although their products are more expensive.
The next important characteristic is the spool capacity. Usually anglers use reels with spools with a capacity of 3000-5000. At the same time, it is important that at least 100 m of fishing line or cord is placed on it (of course, the thicker the fishing line, the more capacity is needed). For a beginner, we can recommend the three thousandth model, but it is better if the kit includes a spare spool with a larger capacity.
The next point is braking mechanisms. A good friction brake is a must: without it, playing large specimens is virtually impossible. Do not forget that the mechanism needs to be adjusted before fishing. Professional models are additionally equipped with freespin reels.
Fishing line
Among the feeders there are plenty of fans of both braided cords and classic monofilaments. However, most anglers lean towards the intermediate option: they change the line depending on the fishing conditions.
Monofilament yarn is cheaper and less prone to abrasion from frequent casts, which are an integral part of feeder fishing. It exhibits enviable resistance to both direct sunlight and low temperatures. However, monofilament has one serious drawback: high elongation when wet, which negatively affects the speed of response to a bite. This means that it can be used at distances up to 35 (and 25 m downstream). Diameter – 0.18-0.30 mm, depending on the weight of the rig and the intended production.
At long distances, it is definitely better to use a braid with a diameter of 0.12-0.22 mm, except for cases when the water surface is blooming or covered with fluff from trees. It may be more expensive and less durable, but thanks to its almost zero stretch coefficient, it allows you to instantly react to even the most unintelligible bites. Its color does not really matter, except for situations when it comes to catching extremely cunning and careful fish, for example, carp. In this case, it is better to select a cord that merges with the environment as much as possible.
Hooks and Leashes
For a leash, a monofilament of black or transparent color with a diameter of 0.1-0.2 mm is usually used. When fishing in stagnant water, it is rational to use leashes up to 40 cm long, and downstream – to increase their length to 70 cm.
With a passive bite, the fish can be alerted by thick rigs, so it is better to use elongated leashes up to one and a half meters long. In general, with feeder fishing, the generally accepted basics of fishing come into force: the more passive the fish, the more delicate the rig and the longer the leash. In special cases, you can use fluorocarbon fishing line: with a significant thickness and strength, it is hardly noticeable in the water.
The most versatile are hooks number 12-14: they should be stocked to the maximum. Their strength, rigidity, as well as sharpness are fundamental: some anglers specially undermine them before each trip. For a beginner, hooks with loops are more suitable: they are easier to impose than models with shoulder blades.
The hook is selected not so much depending on the mass of the intended prey as on the characteristics of the bait. For a worm, it is rational to use a hook with a long forearm, and for a delicate bloodworm – the thinnest option. When using vegetable baits, the characteristics of the hook are not critical: the main thing is the holding strength of the nozzle.
Feeder troughs
All versions of the feeder equipment provide for the use of feeders, which is not surprising: we are talking about long distances, where the delivery of complementary foods is difficult. There are many options for feeders of various configurations and purposes:
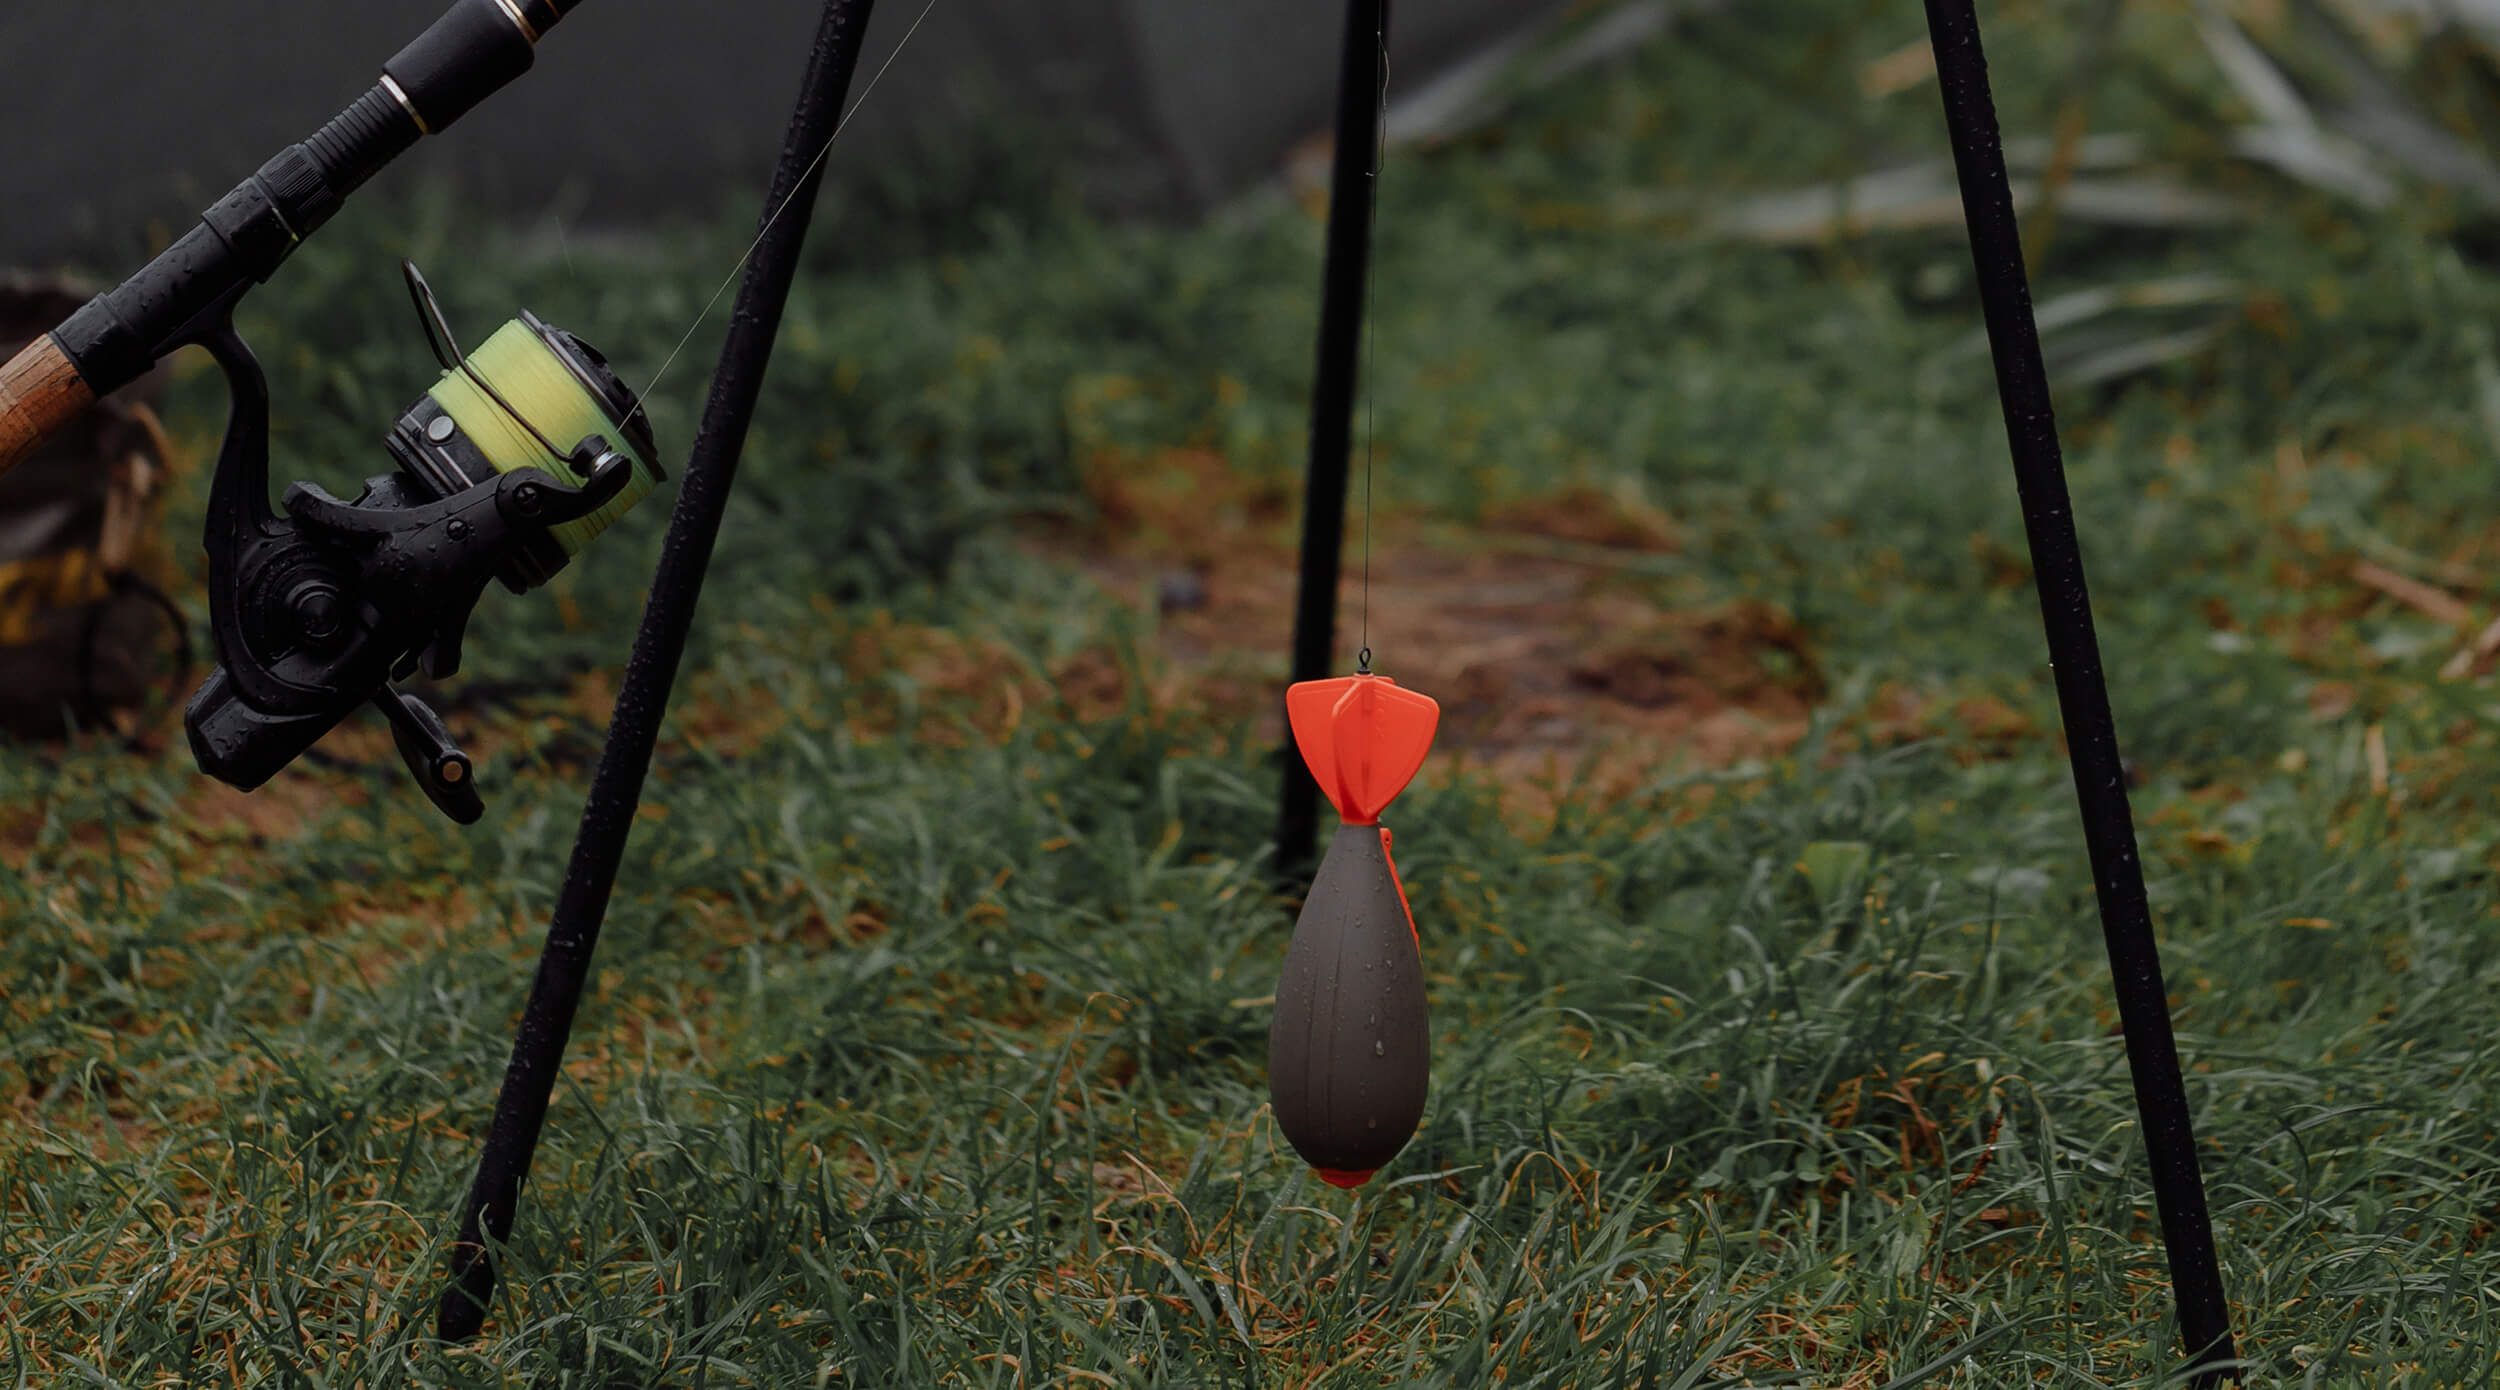
- Starter complementary foods . In this case, the most voluminous models are used, and they are mounted directly to the cord, without hooks and other accessories. The most common and effective at the moment are considered to be “rockets”, deploying or overturning on the border with water.
- Supplementary . You can fish on the feeder both in stagnant water and downstream, and the configuration of the feeder depends on this factor. The stronger the current, the heavier the feeder (so as not to be demolished) and the smaller the diameter of the holes. Some options (for example, a spring), it is impractical to apply downstream: it is better to stay on a fine-mesh “cage”. For live bait (for example, bloodworms), mostly closed models with small holes are used.
- Long distance casting . In fact, these are also starting and finishing options, but with improved aerodynamic characteristics. For example, at long range the aforementioned front-loaded missile is good. For supplementary feeding at long distances, the “method” shows itself well in the presence of good aerodynamics.
The feeding option should lie on the bottom and not be carried away by the current. This can be easily identified by the quivertip: it is motionless, which means that everything is in order.
Basic types of montages
The task of the feeder is to deliver the bait in large quantities, but in no case interfere with the transfer of the bite from the hook to the quivertip. For this, a number of installations with branch leads have been developed, which do not interfere with direct communication. Both sliding and fixed rigs are used. Every seasoned angler has his favorite types of montages, which he uses more often than others: symmetrical and asymmetric loop (for flow), inline, flat (good for carp), helicopter, and so on.
For beginners who are just mastering the basics of feeder fishing, it is worth recommending the simplest options:
- Direct mounting . The feeder is equipped with a swivel (most often it has this design in the factory version). The main line is passed through the swivel, and the mobility of the feeder is limited by special rubber beads. Next, a swivel is attached to the main line, through which a leash with a hook is attached.
- Straight with anti-twist . The installation is similar to the previous one, but an anti-twist tube is used, and the leash is mounted through a double swivel with a carabiner. When fishing in stagnant water, the anti-twist is not very necessary, you can get by with the direct installation mentioned above, but with the flow it justifies its use.
- Paternoster . Elementary installation, the most preferable when fishing for passive fish: it does not imply the use of swivels that rough up the rig. At the end of the main line we make a small loop, then step back 15 centimeters and make another loop, large enough for the feeder to fit into it. Then everything is simple: we impose a leash on the first loop, and a feeder on the second.
You can fish of different types on the feeder: sometimes even pike is caught on it. The features of the equipment and the nuances of installation largely depend on the type of the prospective trophy.
Fishing preparation
Preparation for the first fishing in life should be complex: the angler is not alive with a single tackle, additional equipment will be required. You will definitely need:
- Spare accessories . It is advisable to grab ready-made leashes, feeders, quivertips, and, if possible, a spool. Additional signaling devices are optional. In addition, you should have a special sinker for measuring depths, but if funds permit, it is better to purchase an echo sounder.
- Rod stands . For a beginner who uses one rod, a “flyer” stand with the ability to adjust is sufficient (preferably using a pair). If the angler operates with several feeders, it is rational to splurge on a rod-pod – a special stand for several blanks, which allows you to adjust the angle of their inclination and height relative to the ground.
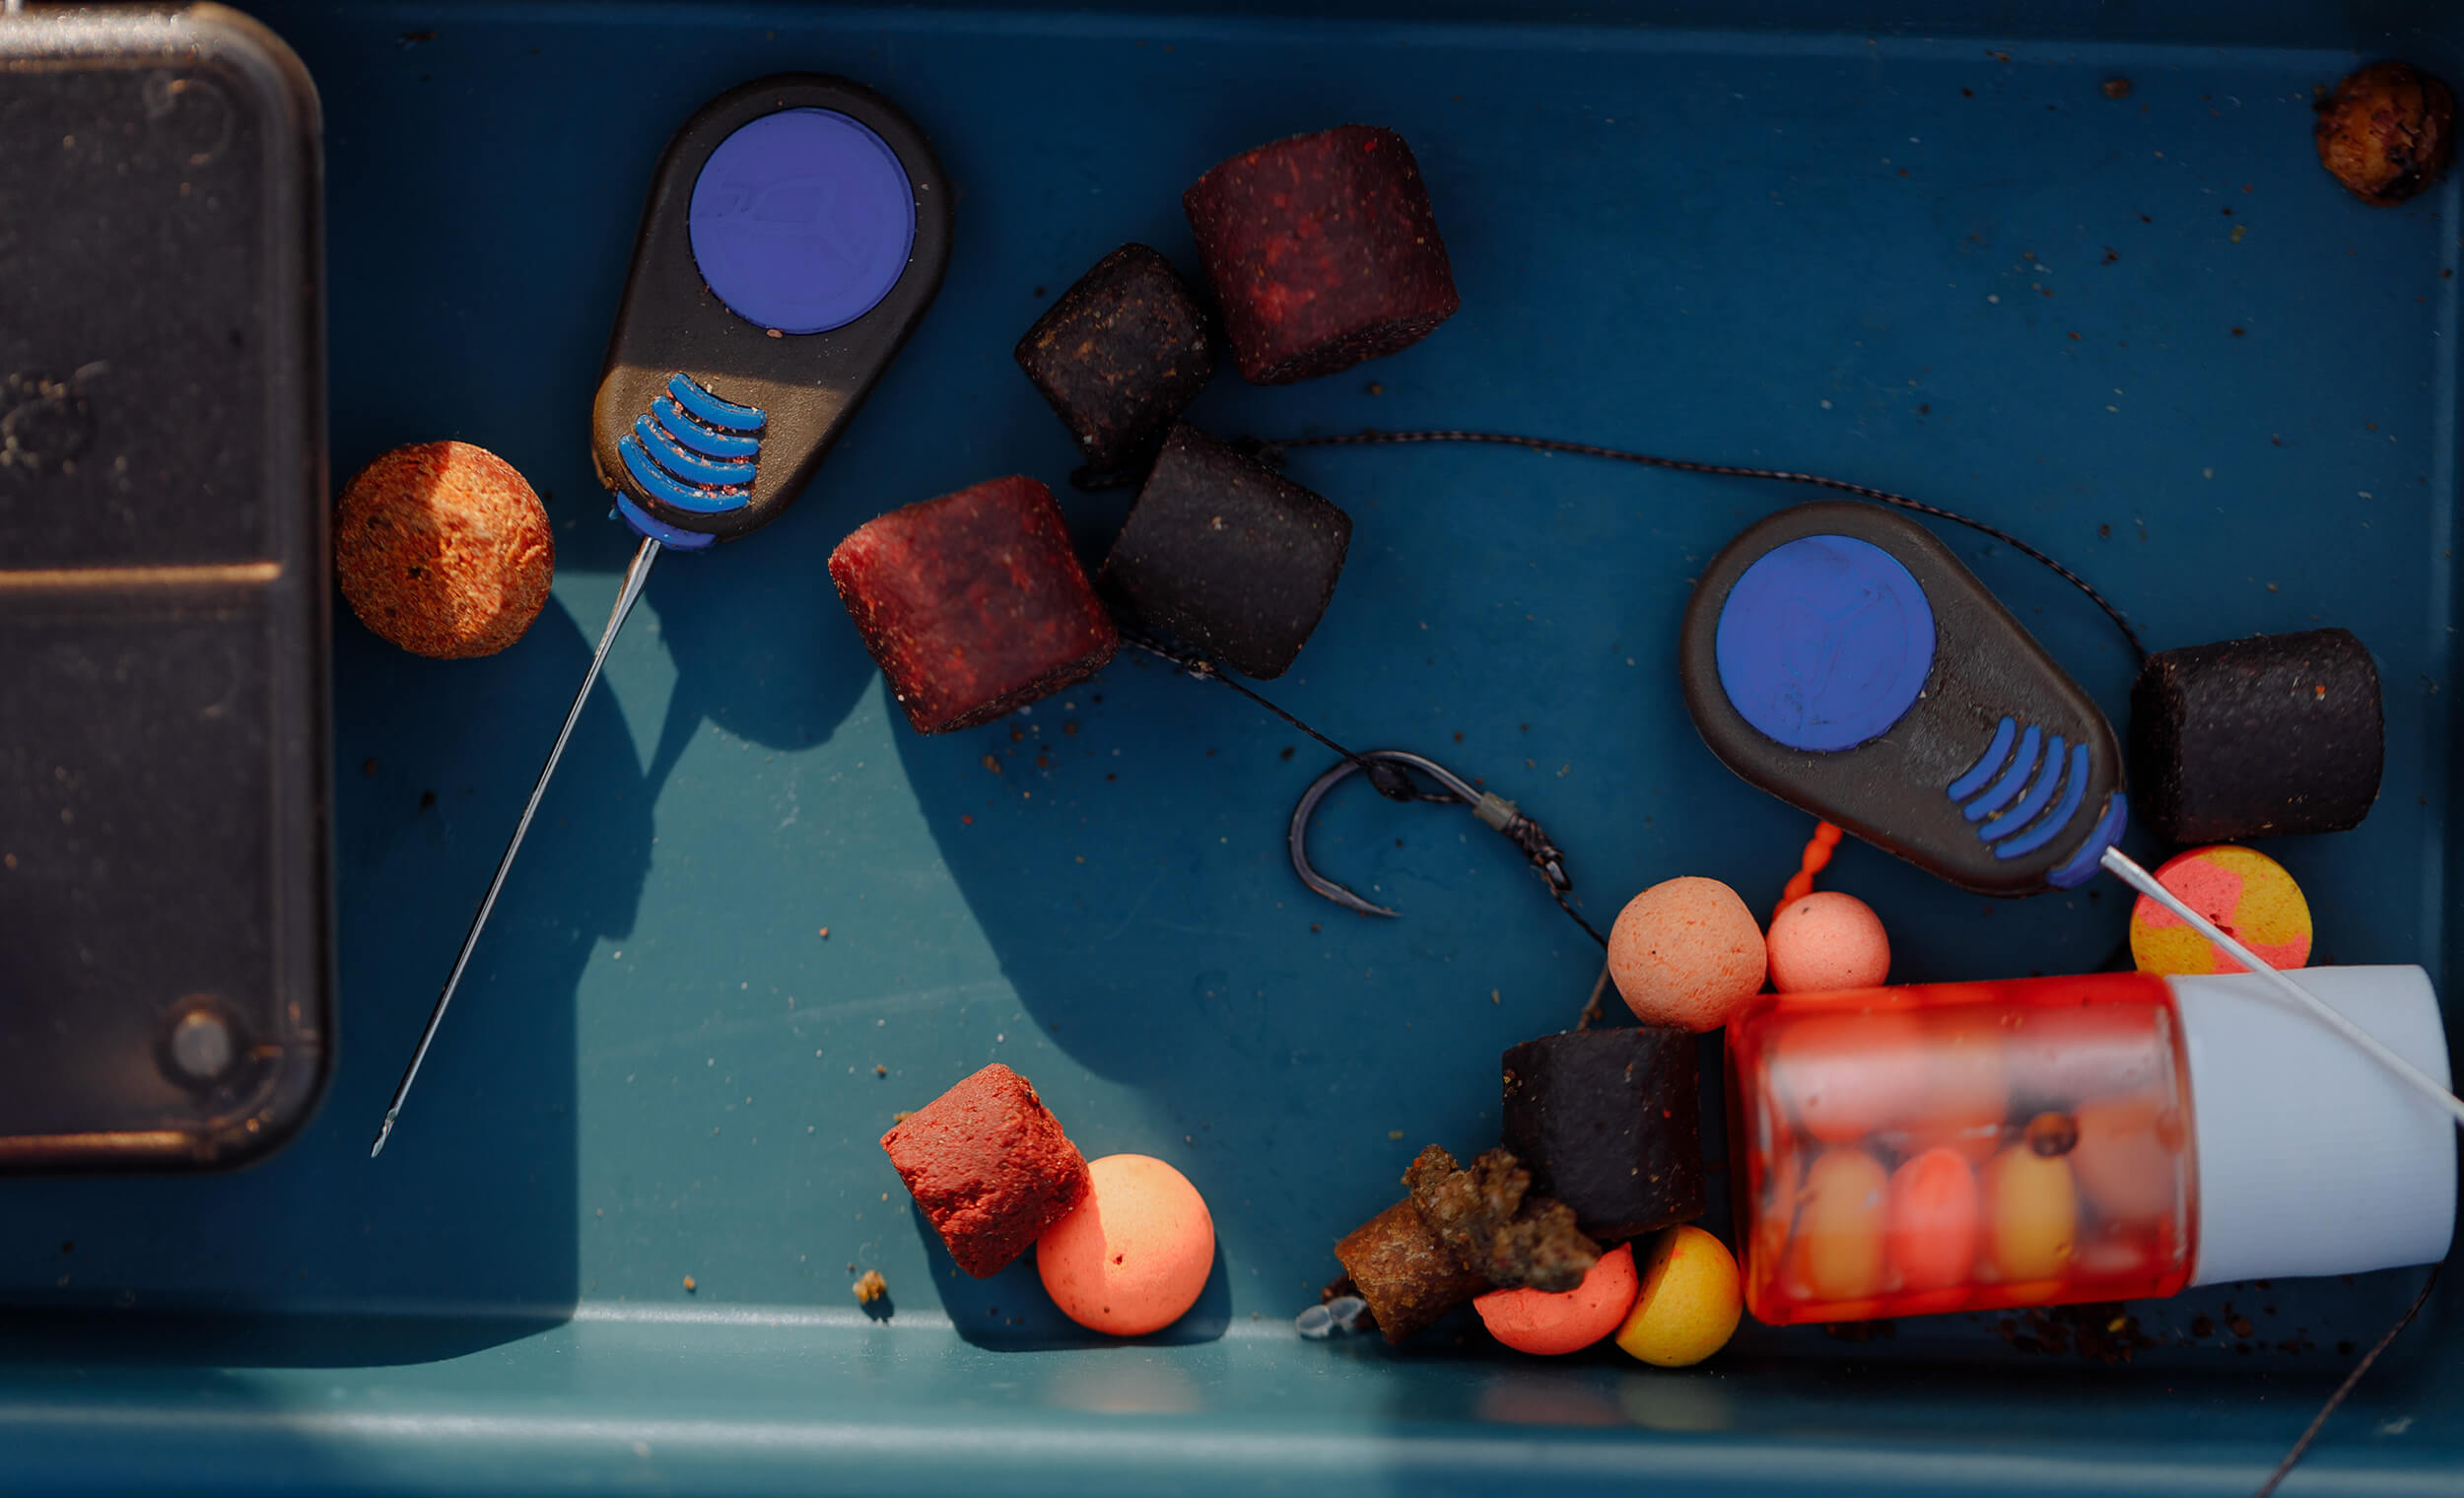
- Groundbait and bait . The bait mixture (you can buy in the store) is prepared in advance, but it is usually kneaded already on the reservoir, in local water. In addition, it is advisable to have several types of bait with you, both animal and plant origin.
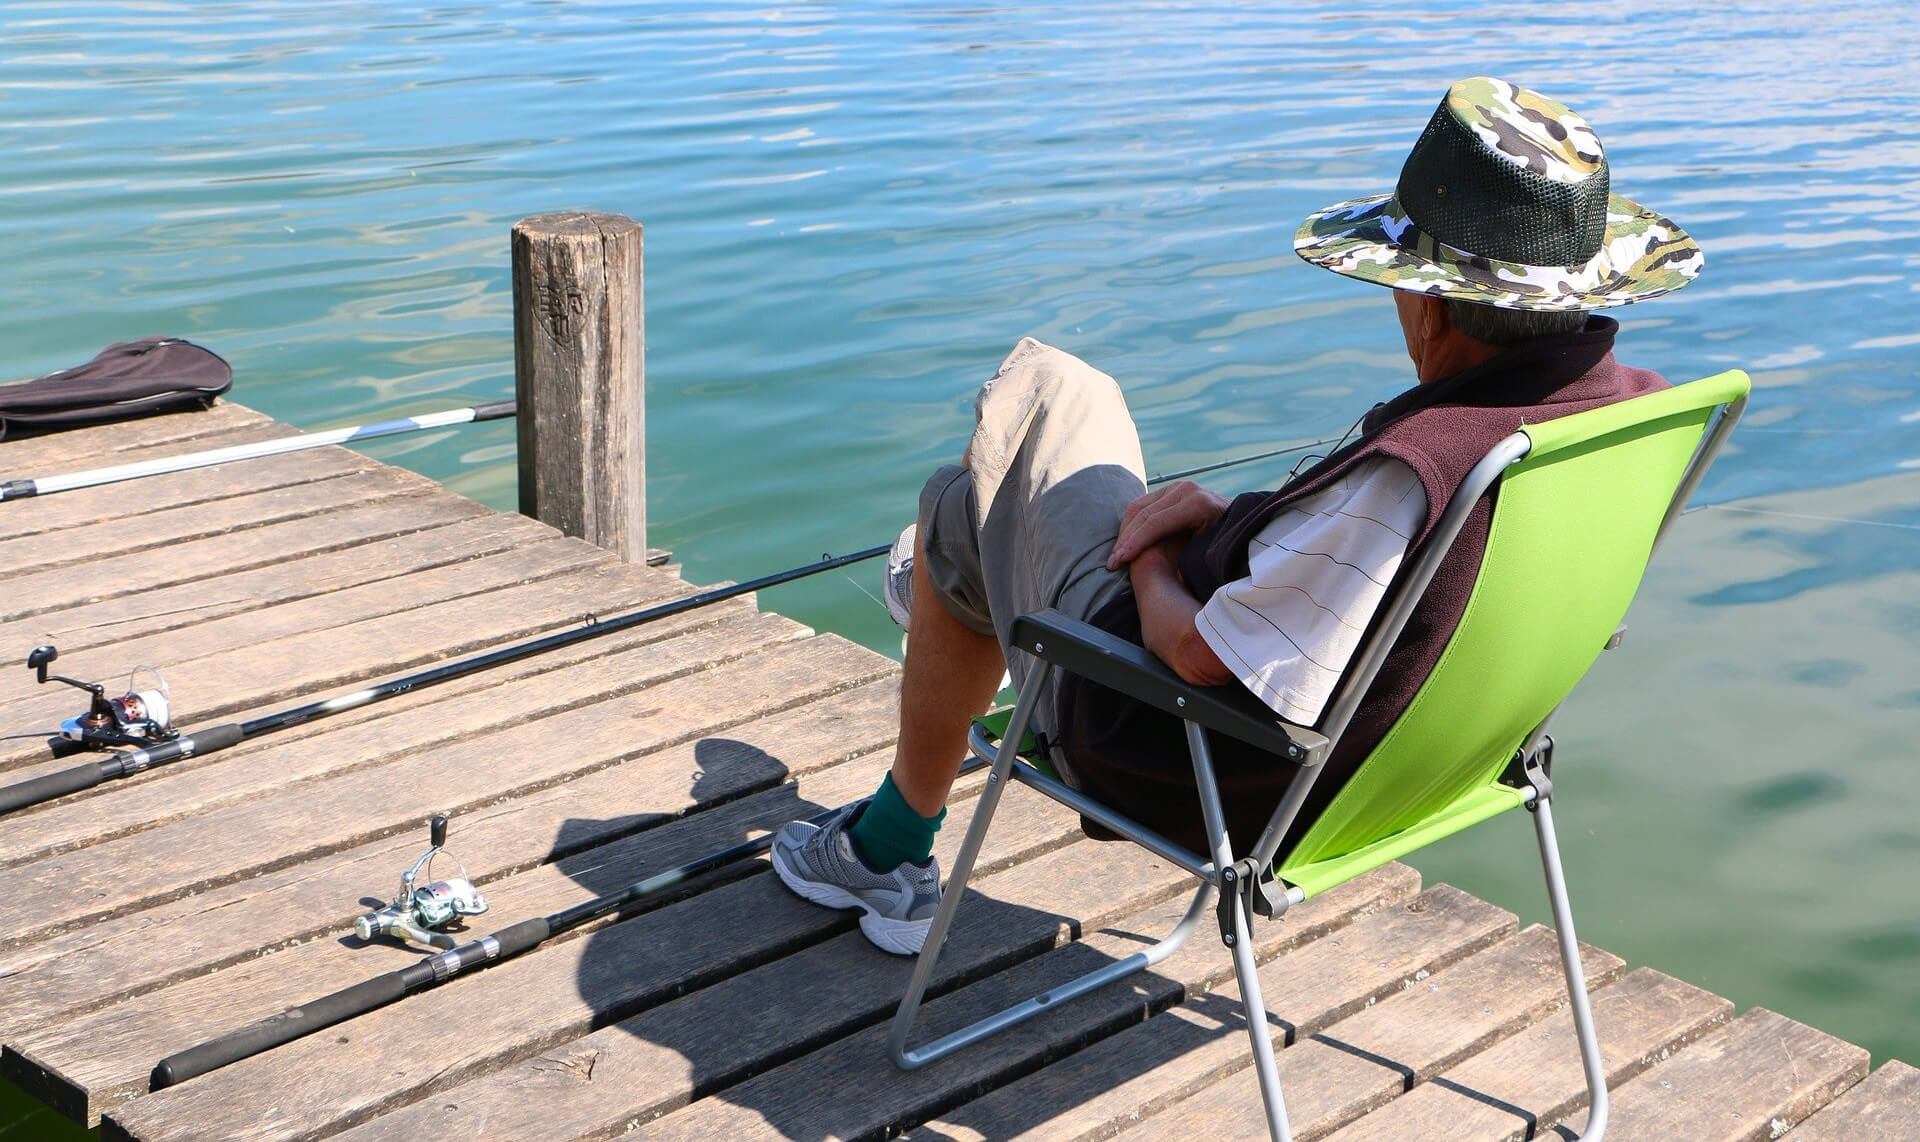
- Supporting equipment . You should take with you a comfortable folding chair, a fish tank (think about how you will fix it in the water, perhaps another “roguel” will come in handy), a bucket for mixing the bait mixture, as well as a landing net for playing large fish.
Feeder fishing stages
Operating with a feeder is somewhat more difficult than a traditional float rod in swing design, but this tackle is traditionally considered more prey and suitable for hunting large specimens. The main thing is not to neglect any stage, both in preparation for fishing, and during the process itself. It is also important to take into account the weather conditions : in case of a strong gusty wind, a sharp cold snap or on the eve of a thunderstorm, it is better to wait with departure.
The following stages of feeder fishing can be distinguished:
- arrival at the reservoir, search and determination of the catching place;
- research of bottom relief;
- starting feed for the fishing square;
- casting gear (the most difficult stage to perform);
- response to bites and strikes;
- playing fish.
Each of these stages is characterized by some peculiarities, therefore it needs more careful consideration. So, we imagine that we have already prepared for fishing, asked the fans of the feeder about the nearby reservoirs, did not forget to take lure and attachments with us and arrived at the place of deployment.
Finding and preparing a place
Free space is required to cast the feeder, so when choosing a fishing spot, especially at first, focus on areas of the shore without bushes and trees. It is advisable to clear the coastal area of sedge and other vegetation: it will inevitably create problems when playing.
If you are looking for a promising place on a reservoir with stagnant water, you should focus on places with a gradual rise in the bottom relief (that is, it is better to fish not at a depth, but at the bottom of a depression – it brings more food there). Sometimes areas with a flat bottom are also good, especially if they are located on the borders of aquatic vegetation that does not interfere with casting and playing. If we talk about fishing on the river, it is advisable to visually determine the water areas with a slowdown in the current, or to fish in large creeks deeply embedded in the coast.
To determine the depth of the fishing spot , as well as the nature of the bottom surface, use a weight attached to the main line. The reference mass is considered to be 40 grams: with stagnant water, such a load sinks to the bottom at a rate of one meter per second. Several casts and simple calculations are carried out – and the bottom relief looms in front of the angler.
It is advisable to investigate the nature of the surface : too muddy or clogged bottom for bottom fishing is of little use. You can use the same weight that you need to drag along the bottom, monitoring the behavior of the quivertip and your own feelings. If the load goes evenly without jerking, then we are dealing with an even or smooth relief and a bottom of sufficient hardness, suitable for feeder fishing. It’s not bad if there is a small shaking: this is an indicator of the presence of small pebbles or shell rock, where a lot of “delicacies” accumulate, which means that the fish are used to eating in this square.
After determining the fishing area, the cord should be clipped or secured with a bank rubber band directly on the spool. At long distances, a tolerance of 1-2 meters is given for line sagging. It is necessary to detect not only the distance, but also the direction. This goal is achieved either by choosing a landmark on the opposite bank, or by placing a pair of stakes in the desired direction.
We remind you: the purchase and use of an echo sounder will greatly facilitate the search for a promising square and even indicate the location of the fish.
Feed
After determining the promising place, you should start preparing the feeder and preparing the bait mixture. If you are using a ready-made mixture, you just need to knead it according to the instructions. In other cases, it is advisable to take fish feed and a large fraction prepared at home (barley, peas, steamed cereals, and so on) with you.
Productive fishing with a feeder is unthinkable without creating a “bait spot” in the casting area. Primary feeding at short distances is carried out by hand, from a slingshot or other devices (cobras, catapults) with large balls or boilies with negative buoyancy.
At considerable distances, the rocket feeders, which have already been mentioned above, show themselves best. In normal practice, 5-10 casts are carried out, but it is rational to feed the fish “richer” during the current. The maximum accuracy of delivery of a large amount of mixture with a relatively quiet process is ensured by special radio-controlled boats and catamarans.
Experienced fishermen (mainly carp anglers) practice baiting fish a few days before fishing, periodically feeding the bait mixture to the fishing point or installing stakes in the water with “bags” stuffed with gradually dissolving bait.
Cast
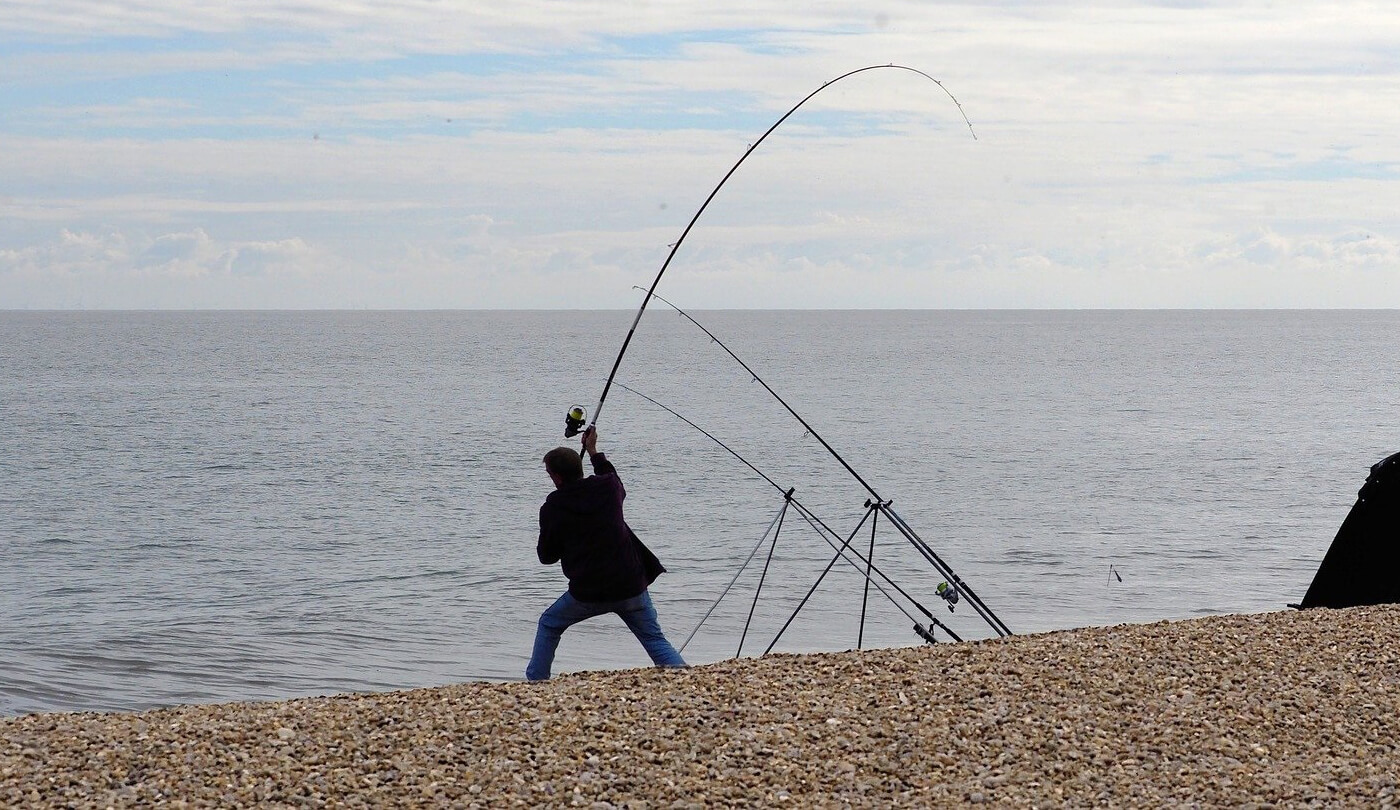
The most difficult thing in feeder fishing is learning how to throw the tackle into a certain square, ideally, with an accuracy of half a meter, without going beyond the formed bait spot. Before casting, be sure to make sure that the cord does not overlap the tip of the quivertip, otherwise it may fly away into distant distances along with the feeder.
For beginners of feeder fishing, we can recommend using the simplest method from behind : if there are no bushes and trees nearby, and the swing is carried out with sufficient force and in the right direction, everything will definitely work out. To increase the range, you can use special feeders, as well as a running cast, and 3-4 steps are enough. There are other methods (for example, “English” or “pendulum”), but they are quite difficult to perform and are recommended for mastering after perfecting the casts from behind.
After a successful cast, you should carefully put the rod on the support in the direction of the line and, if necessary, take out the line slack with the reel. Now that’s it: you can safely observe the behavior of the quivertip. If it gradually deviates to the side, then you should pick up a heavier feed (it is carried away by the current) and repeat the cast.
Bite and sweep
Each fish has its own way of biting, which is reflected in the “behavior” of the top of the blank. For example, a small vibration indicates that small fry are interested in the bait, which is actively “sucking” it. As a rule, after such “swotting” there is a lull. This means that the little thing has already managed to use the attachment and expose the hook, that is, it requires reloading the tackle and re-casting.
A large individual can also try on the bait at first, but more often it grabs the bait right away. This is expressed in a sharp bend of the quivertip, and in some cases – and a jerk of the entire blank. A solid specimen can even drag the rod out of the hands of an angler, therefore, when fishing with a trophy fish feeder, it is advisable to use a reel with a freespin reel, which provides instant return of the fishing line.
However, unlike a float rod, this tackle gives enough time to react to a bite: it should not be so fast as it should be correct. After a bite, you should carefully raise and pull the rod towards yourself, avoiding unnecessarily sharp movements, otherwise you can either break off the rig, or break the fish’s lip and “safely” let it go.
Playing fish
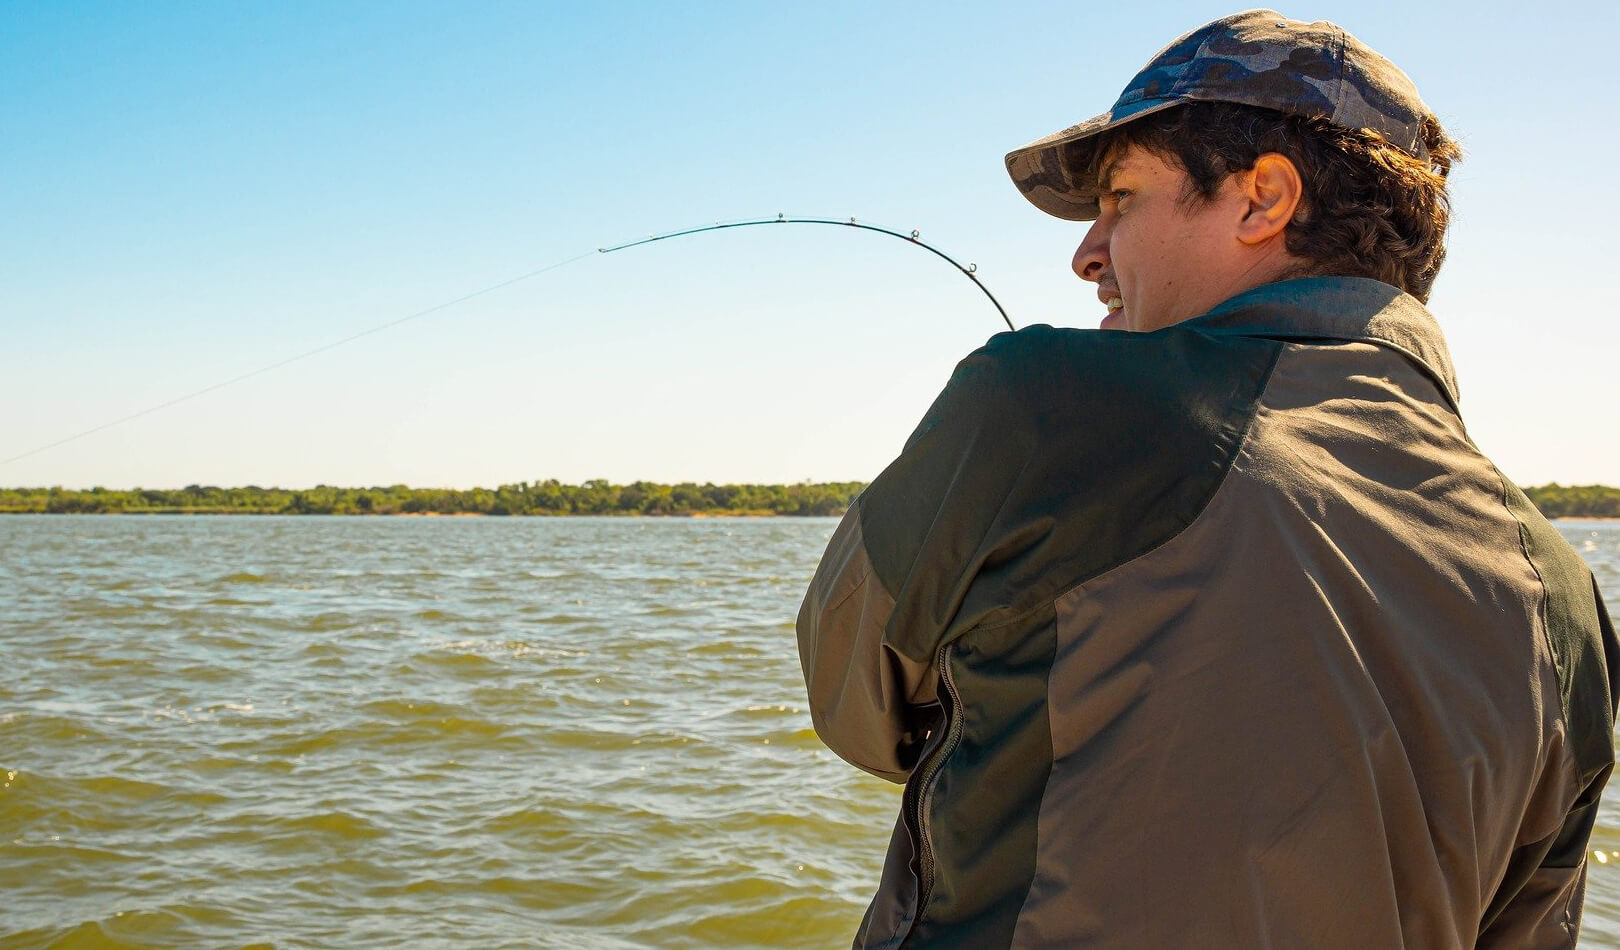
The most enjoyable stage is playing the cherished prey . It should be started immediately after cutting, feeling the resistance of the cord when the quivertip is bent. The small fish offer modest resistance, so they can be guided directly to the shore by gradually winding the line around the reel.
Solid specimens are desperately fighting for life, so certain rules must be followed when playing them. This technique is called “deflation”. It involves periodical lifting of the rod to an angle of about 80 degrees, alternating with lowering the blank with simultaneous reeling of the line. A properly tuned clutch plays an important role here. When the desired prey has almost reached the shore, you should raise the blank and let the fish take a breath of air, ideally, lay it on its side.
In the finale, it is reasonable to use a landing net: it is not recommended to raise large fish above the water on a line: this is fraught with its descent at the most crucial moment. Fishing with a feeder is good because a large specimen can be hooked even by a green beginner in conditions of poor bite, so the landing net should be present in the arsenal from the first fishing in your life.
The feeder is an amazing tackle that demonstrates enviable prey when handled correctly. We hope that this article will help you to feel the desire to master this type of fishing too!

![7 Best Baitcasting Reels For 2023 Reviewed [Buying Guide] 13 7 Best Baitcasting Reels For 2023 Reviewed [Buying Guide]](https://trizily.com/wp-content/uploads/2021/12/baitcasting-reel-768x415.jpg)
